This post may contain affiliate links. Please see my disclosure*
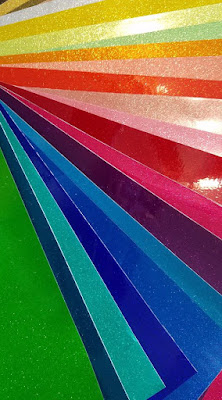
For this project I am using the Transparent Glitter line from StyleTechCraft™ and it is one of my favorites. This is the only glitter adhesive vinyl on the market that is glittered on BOTH sides! So it looks great on both sides of the glass. Perfect for using on windows, doors, and serve ware.
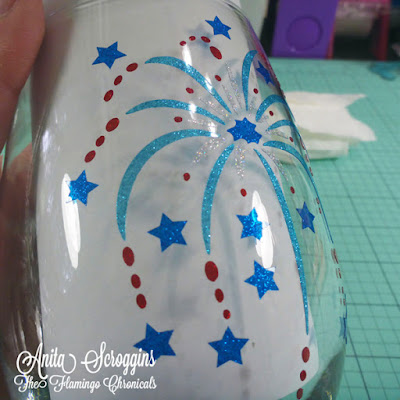
I used Transparent Glitter Red 464TG, Sky Blue 451TG, Blue 453TG, and Silver 493TG. On the "USA" glass I used Ultra Metallic Silver 126.
I used my Silhouette Cameo 4 to cut my vinyl. There is an AMAZING sale going on right now if you are looking for a new Cameo 4, mats, blades, or software. Be sure to check it out HERE
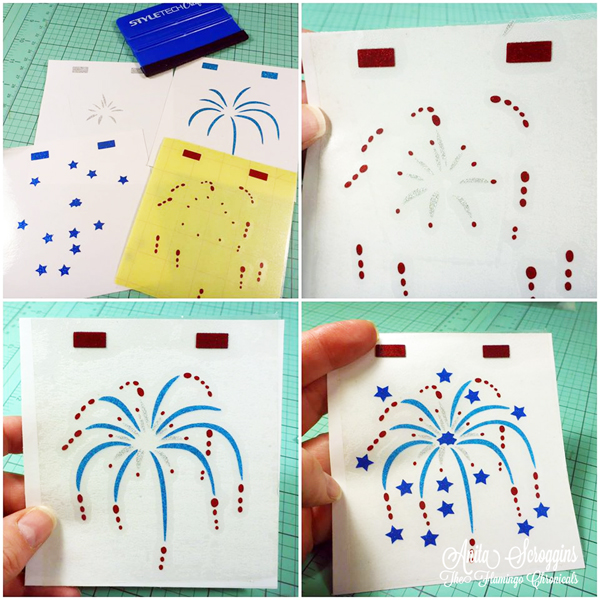
So, have you ever cut something like this and you went crazy trying to weed it? The best way to weed something like this is to use reverse weeding. What is that you ask? It is the process of applying the transfer tape to the entire design, then pulling the excess off the tape. As you can see here it will leave the vinyl you want on the transfer tape while you pull off the excess. Side note: DO NOT stop right in the middle and let half of the excess vinyl lay on top of the other half. It is adhesive vinyl after all. This was a BIG mess and I had to cut it again and start over. Seriously y'all - learn from my mistake!! You can find my favorite transfer tape here.
Here is what you are left with. Notice how sparkly the little red dots are?? That is the BACK of the vinyl (remember, it's adhesive so it is laying right side down here.) It's a pretty cool technique that you should add to your skill set.
- Weed all the layers but DO NOT apply transfer tape to them.
- Start with the top layer and apply transfer tape (for this design I started with the red dots because I used the transfer tape to weed it.)
- Remove the backing from the vinyl and re-apply it BELOW the rectangles.
- Line up the rectangles on the next layer (which is still on the original backing because you haven't taken it off yet). Once the rectangles are together, pull the backing from the top layer and press both layers together.
- Repeat this process for each layer.
- Practice with simple designs first!
I'm thinking I need a different color drink to really show off the design on these glasses 😀😀
Be sure to check out the StyleTechCraft™ Facebook and Pinterest pages for some amazing ideas.


Great glasses! I picked up at least 3 great tips from you 1 minute Silhouette Tutorial - so thank you! and Cheers!
ReplyDeleteSusie let me know anytime you need help with your Silhouette! I am glad to help.
Delete