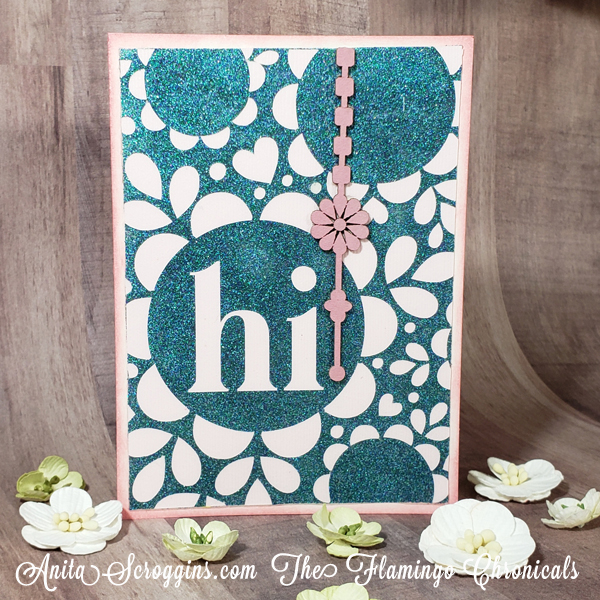
As we wrap up the week following World Card Making Day I have one more project using the
FREE cut file from Scrapbook.com. Have you gotten your free file yet? Be sure to hop on over and grab it before it's too late!
I wanted to do something with the negative of the cut- rather than the actual piece that most normal people would use 😁😁 I don't know why,,, I mean, nothing like adding 8 extra steps to your project, right? Anyway,, I have been wanting to give this a try for a while and felt the time was right. I used my
Silhouette Cameo 4 (y'all it is AWESOME) and I set the file to double cut, and turned on my Line Segment Overcut feature. I wanted to make sure that the negative stayed on the mat so I needed a nice, crisp, cut. I very carefully pulled up the main piece, leaving the negative pieces on the mat. I used
Tutu Pink cardstock from Bazzill for this project.
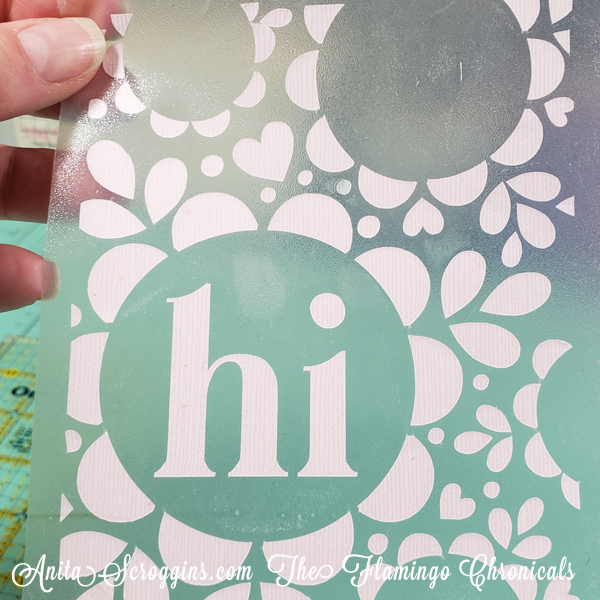
Using a piece of
low tack transfer film, I picked up the pieces from my cutting mat. I very lightly burnished the film onto the paper pieces- I didn't want the film to stick to the mat. You know,, two sticky things pressed together is not a great thing to deal with.
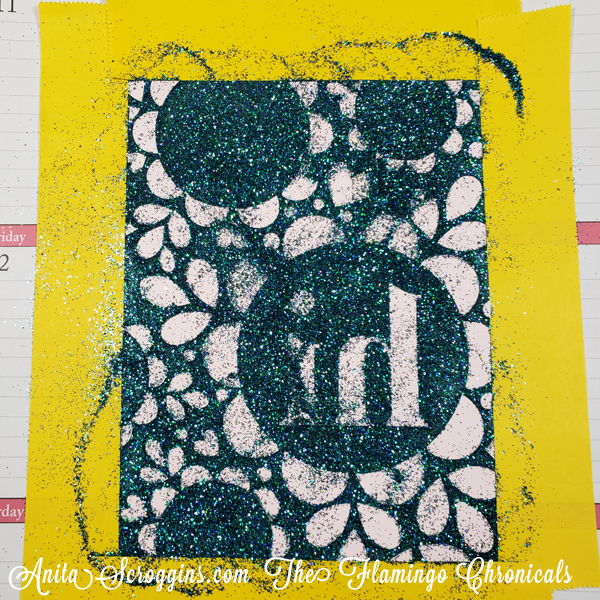
Next up I used some low tack paper tape and masked off the outside of the transfer film, leaving just the cut portion visible. This yellow stuff is great, I bought it about forever ago and I normally use it for labeling my drawers in the studio. I would normally use my
Purple Tape from ThermoWeb. However, the princess was here this weekend, and she colored at my studio desk, and now I can't find anything!
I burnished micro glitter into the transfer film, making sure to cover all of it. This is a one shot deal, so be sure that you get everything evenly covered. I poured the excess back in the bottle, then used a big fluffy brush to knock off any loose glitter still remaining.
So, I like how glitter looks,,, but I don't like glitter all over the place. I don't like to send anyone a card with glitter, and I don't want anyone sending me a card with glitter either! That stuff is the devil's dust. Seriously. So my goal here was to encase all the glitter with adhesive, so none would be floating around. I cut a sheet of
double sided adhesive in half, and applied to the back of the cut out. Burnish well so that there are no loose spots. Trim the piece to fit the front of your card using an exacto knife and a ruler.
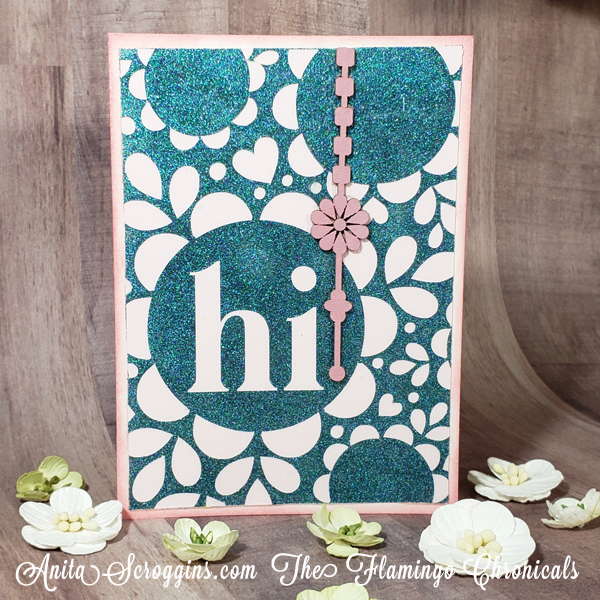
I inked the edges of my card with chalk ink. Then remove one side of the backing from the adhesive and place the piece on the front of the card. Remove the last piece of backing from the adhesive and burnish it to the card front. I also added a piece of chipboard on top using Glossy Accents,
So there you have it- how to turn a simple card into a multi-step process so you can use the throw away piece of a cut file!