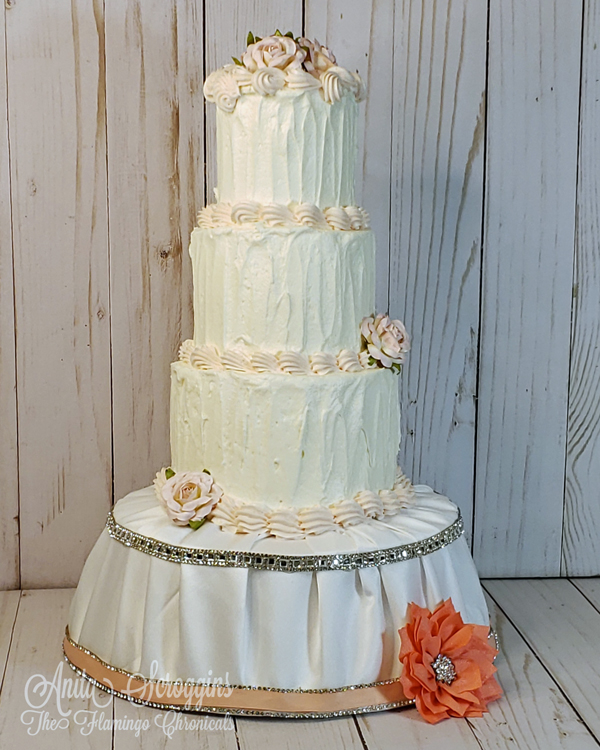
Who loves DIY crafts for weddings? I sure do! It just seems more personal when you add your own flair to it. I made this cute cake stand using products from Gwen Studios. Did you know that October is the most popular month for weddings in Texas? I really don't know why, but it is.
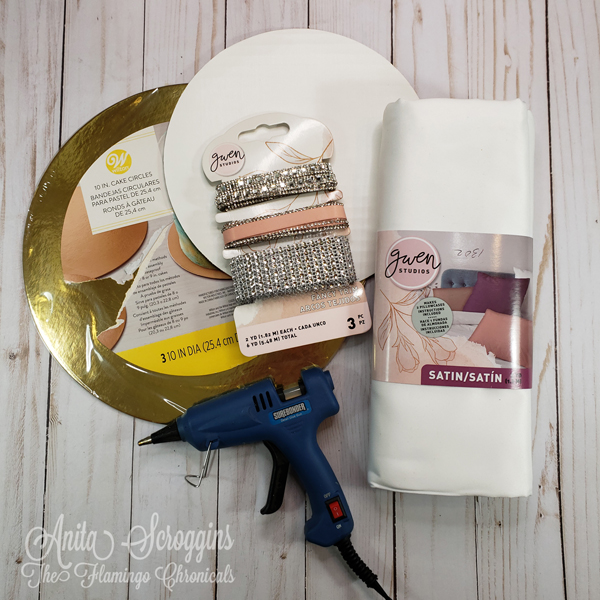
My supplies:
- Gwen Studios White Satin
- Gwen Studios Coral Satin and Rhinestone Trim
- Cake boards from Wilton
- SureBonder Detail glue gun
- Styrofoam cake dummie
Start by adhering a cake board to each side of the cake dummy. I used a board 2" larger than the dummy on the top and 4" larger on the bottom. Adjust your sizes to suit your tastes.
Rough cut the Gwen Studios White Satin. I just pulled one side of the satin up to the top board to fit, then marked the other 3 sides to match. Then I cut off the corners to make it sort of round!
Mark a circle on the top board the size of the bottom cake layer. This will be your guide on how far to cover the board with the satin. Pull the satin up and adhere using hot glue right on the line. Cut off the excess satin. Work in small sections pleating it as you go.
Once you have the satin glued down it's time to add the trim. I used the two smaller ribbons, adhering them in small sections using hot glue. Ta-da! That's it. I finished the cake off with some vintage paper flowers and added a coordinating fabric and rhinestone flower at the base.


Beautiful! Need help eating that cake? ;)
ReplyDelete