Showing posts with label Embossing Powder. Show all posts

Deconstructed Layout #14 A Perfect Moment

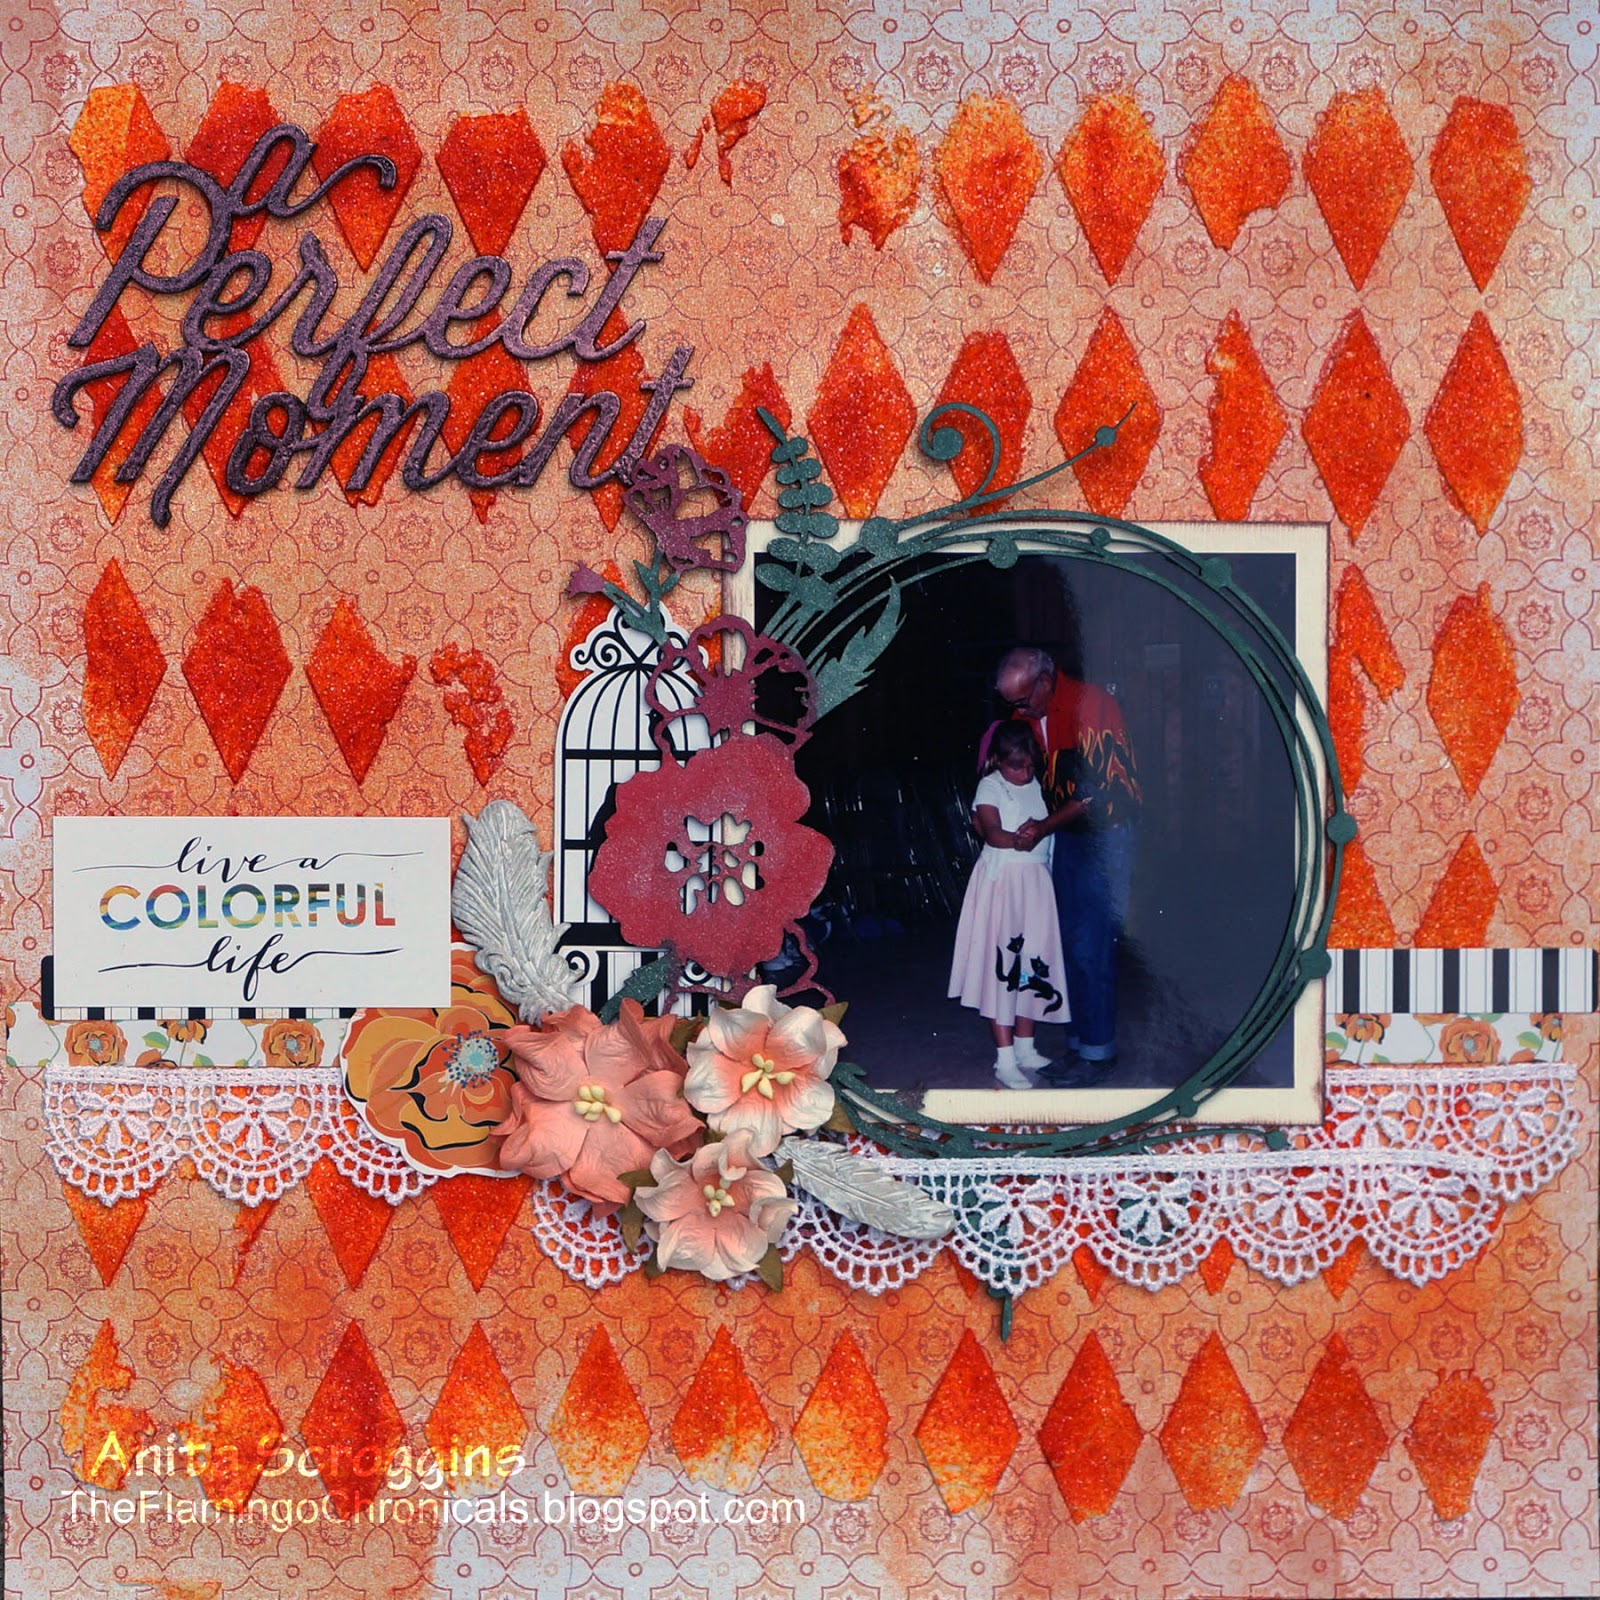
Perfect Moment Layout
 For today's Deconstructed Layout - A Perfect Moment-  we are going to talk about background texture. I love working with stencils and molding paste, but there are times when I want to add a little something more to it.
 I hope you are enjoying these tutorials as much as I am!


For this layout, I wanted to really play up the color of the We R Memory Keepers paper, which was a beautiful  orange. So I grabbed a stencil, my Molding Paste and knife, some DISTRESS GLITTER and a jar of LINDY'S STAMP GANG FLAT SHOT  in Mango Mania.
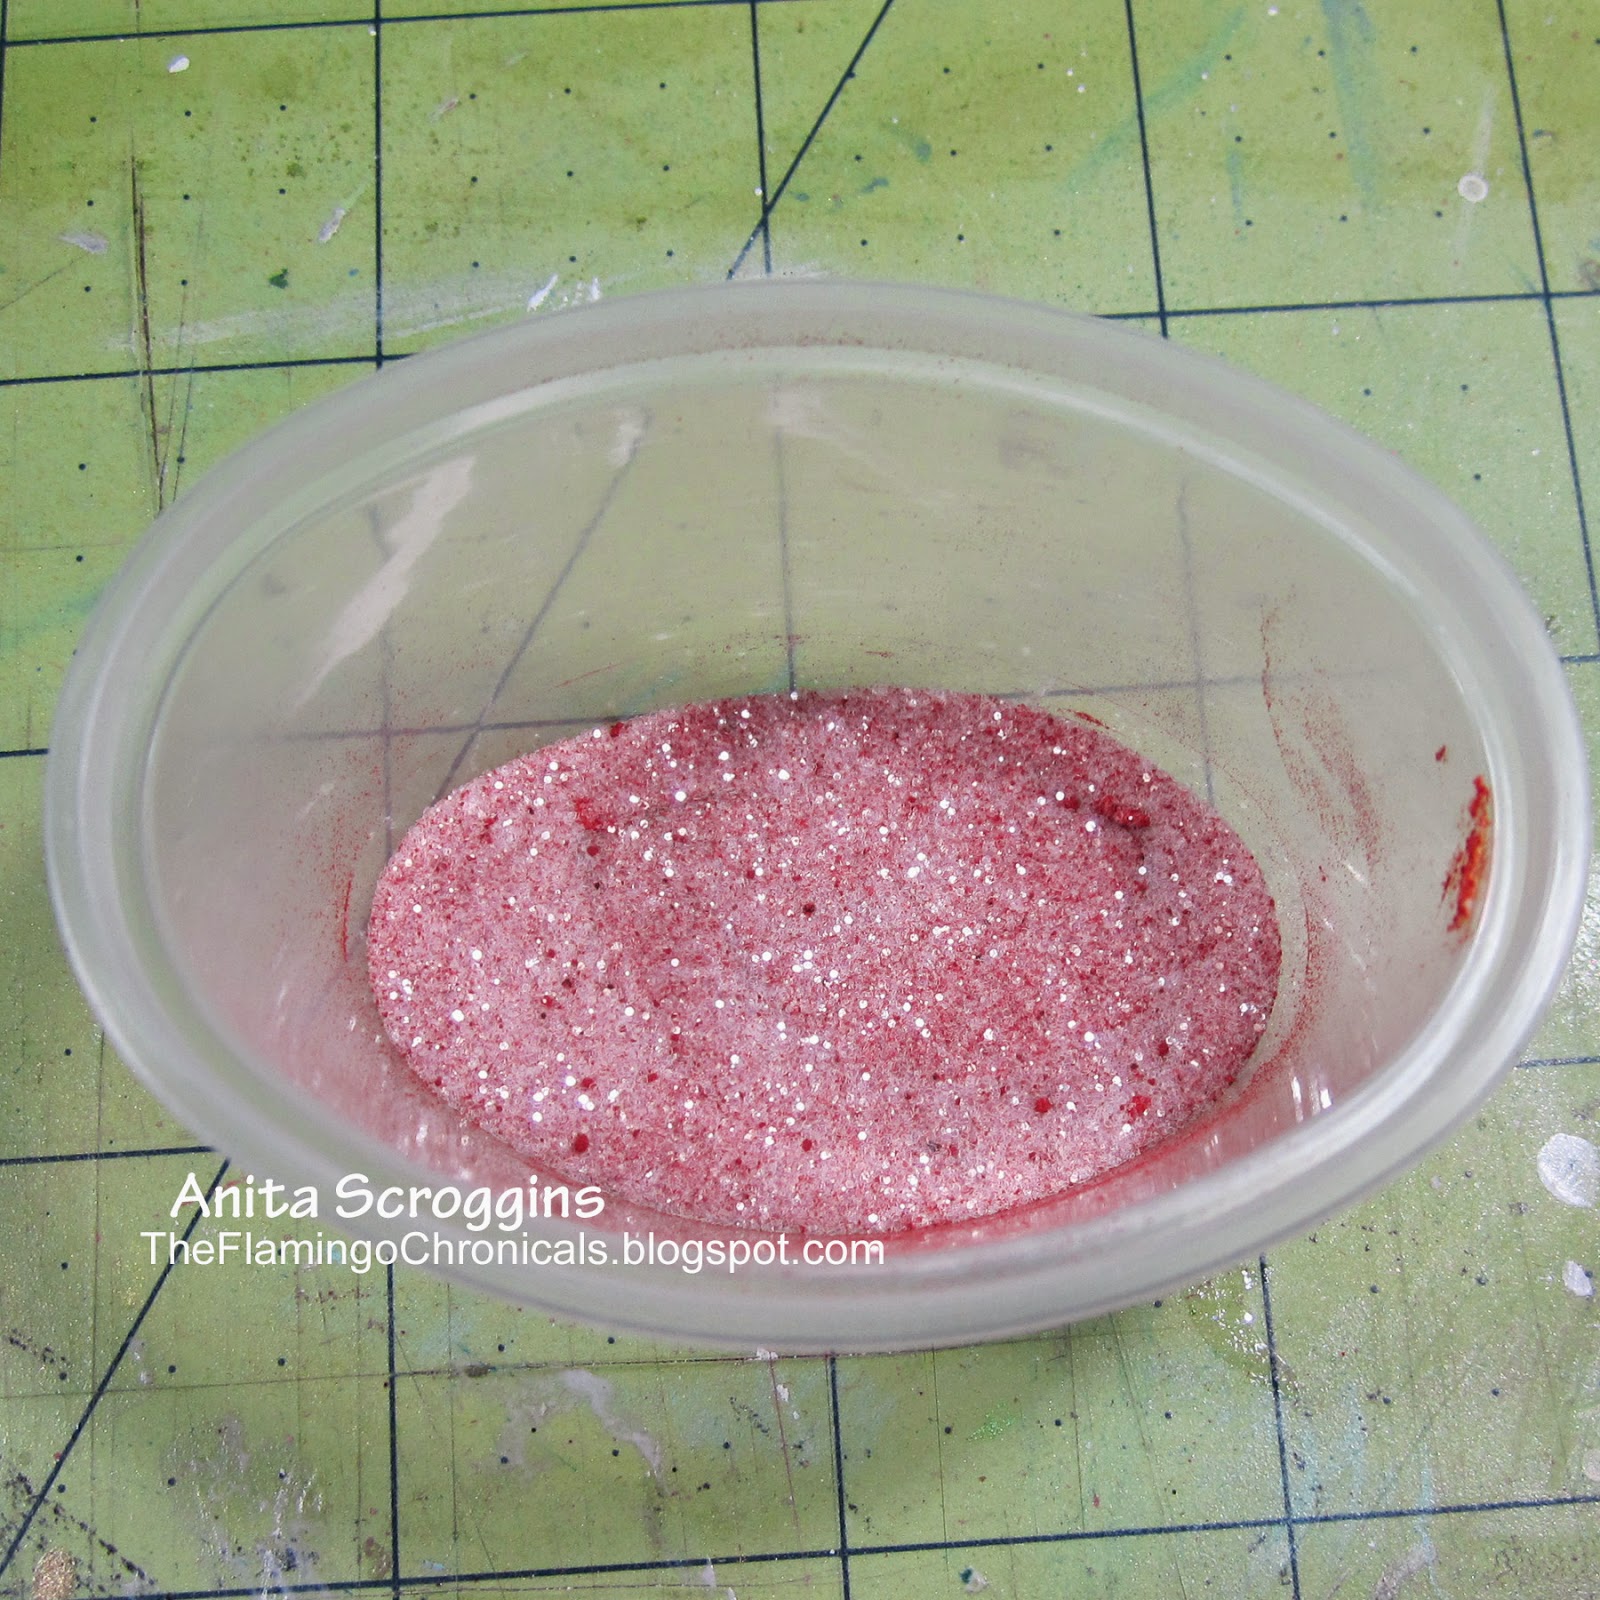
Distress glitter
I mixed some Distress Glitter (Clear Rock Candy) and My Mango Mania Flat Shot together in a small cup and set it aside. Once I had spread a THICK coat of molding paste and removed the stencil, I poured the mixture over the paste, letting the excess run off onto a scrap of paper. 

background texture
This is what you end up with. Now, the background will be PLAIN. The reason mine is orange, is because I sprayed it with Dylusions White Linen- the residual Flat Shot that was on the paper will turn colors when the spray hits it. If you don't want the paper to be colored, just don't spray it!

Set this aside to dry, like over night. Seriously. Then you will need to seal it. REALLY. 
You will need to seal it, or it will get all over your hands every time you touch it. 
Trust me on this. 
I use Helmar's Crystal Coat Matte Varnish, but any spray sealer will work.

matching embellishments
I added Glitz 77 stickers, flowers, and resin accents from the Summer's End Kit, some lace and a chipboard from Blue Fern Studios. To color the chippie, I used plain old pan watercolors then misted with iridescent ink. 

embossed chipboard
I used Midnight Copper Embossing Powder from Lindy's Stamp Gang for my title.

Thank so much for stopping by today!


Christmas Goodies with Sparkle N Sprinkle

Happy Sunday all my blogging friends!
A new week is here and I am enjoying the fabulous cool weather here in 
Dallas. WOW- did we get a cool snap! 

Today I have a new project for Sparkle N Sprinkle to share with you
We love to bake during the holidays at our house, so the new Sweet Holiday #655 Stamp Set is perfect!

I stamped the sentiment and heat embossed with Silver Detail EP, then filled in the outline with a marker.
I stamped the Gingerbread Man with Brown VersaMark ink, then colored with pastel pencils and added black rhinestones for the buttons. I stamped directly on top of my glitter using the new Wonky Lines Background to create my punched border strip.

 I used the Christmas Delight Digi along with my Silhouette Cameo to create my title.

I covered a piece of chipboard with 2 1/2" Tear-ific Tape, then burnished with Goldenrod and Luau Green Glitters.

I am so excited that Sparkle N Sprinkle will now be stocking Mon Ami Gabby products in the store!
I love bling, and these products are fabulous. I always run for their booth at convention ;)

To see more detail on my layout, including the full supply list and directions, please visit

I'm linking up at the following challenges:


 Thanks so much for stopping by today!

Have an amazing week!

Anita


I love You More - Frosted Designs Friday Challenge

Hi everyone and happy Friday!

We have a new challenge over at Frosted Designs today.
This week the theme is Graffiti/Doodling/Hand Journaling

Here is a look at my layout
I love the golden tones of the new We R papers (from the Summer's End Kit).


 I used a stencil and ink to create my graffiti here on the side of the page. After it was dry I used my Signo white pen to add some detail to the dots. I also doodled around both the layers seen here using a contrasting pen

I used a second stencil and  modeling paste colored with Gelatos to create some texture around the page. The chippie from Blue Fern Studios was inked, then I added flowers and bling.

I used one of the stickers from the Summer's End kit and cut it into several pieces to tuck behind the photos.

My title was embossed with Lindy's Stamp Gang powder, then I lightly rubbed
StazOn Cotton White ink over the top.


 Here's a list of items used from the Frosted Designs Store

Summer's End Kit

Thanks so much for stopping by today!

I'm linking up at the following challenges:
Quick Quotes Blog: Use BLING
Berry Bleu: Things You Love
 Lasting Memories #208: Add Leaves


Be sure to hop over to the blog and check out the fabulous
projects made by the Design Team.


Beautiful Baby with Sparkle N Sprinkle

Happy Sunday everyone!
Another new week is here and it is my turn to share a project using the 
amazing products from Sparkle N Sprinkle. 

I started with a piece of Bazzill Vanilla CS- which is my newest favorite color- and added some texture with  stencil and molding paste. While the paste was still wet I sprinkled it with Bubblegum GL. I sprayed my doily with Dylusions and set that aside to dry.

I added some accents around the page using the Flourishes 2 stamp set and Buttercup Petal EP.  On the white rose I added glue to the edges of the petals, and dipped them in Peruvian Lily GL.
The beautiful die cut accents are from Kaisercraft. 

Once the doily was dry, I stamped randomly on it using the Crystal Medallion stamp and adhered to the layout using Tear-ific Tape.

Love, love, love how much sparkle the glitter adds to the molding paste!! 

These beautiful Crystal Accents are from Mon Ami Gabby. They are so easy to add to your projects and look so pretty. Love them!!

Thanks so much for stopping by today!
Have an amazing week!

Anita

Supplies:


All Things Grow Better with Love Layout- Sparkle N Sprinkle

Hi everyone! It's Anita here today and it is my turn to share a project with you
 using fabulous Sparkle N Sprinkle products!

I have a layout today that I created using some very young photos of DD2
 and some very pretty stamps!
 
The Garden Fairies Stamp Set was just so cute- I knew as soon 
as I saw it that I needed to create something with it! I used the vine to create a border
above and below my cut papers- a subtle but effective way to add detail.

I stamped my tags with Crystal Medallion and heat embossed with Lilac Spark EP. I added some Memories Mist in Bright Gold to bring out the embossing. I used Super Adhesive Sheets and Spellbinder's dies to cut the frames behind the photos, then burnished them with Dogwood Rose GL- LOVE this color!!
I stamped the mushrooms and fairie from Garden Fairies multiple times, colored and cut out. I layered them over and under my chipboard piece using pop dots on some for more dimension. I used Pear EP on the chipboard piece.
 
Here is a close up of the vine stamp- I used a chalk ink to make it really stand out.
To see all the details on this project, please visit My Gallery at Sparkle N Sprinkle.
Thanks so much for stopping by today!
Have an amazing week!
Anita
Here are the supplies I used for this layout;
Glitters: Purple Rain GM2020, Dogwood Rose GM2021
Embossing Powders: Lilac Spark EP151, Pear EP420

Day at The Zoo- Sparkle N Sprinkle

Well,, it is a rainy afternoon here in Dallas, so I guess that means I should
spend the afternoon in my craft room, right?

Today I have a project for Sparkle N Sprinkle to share with you using
the new Ellie The Elephant #553 stamp set that was just released the 1st of April.
It is so cute!!

I have used Bazzill cardstock along with Echo Park papers. I sprayed my entire background 
cardstock with Iridescent Memories Mist- I am so loving that product- then stamped a border
across the page using Brocade Backgrounds and heat embossed with Cappuccino.

I stamped my Ellie the Elephant onto smooth white cardstock, and colored with
PITT® Pastel Pencils from Faber-Castell Design Memory Crafts. 
The flowers are from Spring Backgrounds, which I stamped and heat embossed.
I then covered the image with VersaMark, srpinkled with  Stickum Powder and heated; 
once it was nice and sticky and covered with Bubblegum Glitter- with the Stickum Powder the 
glitter will stay in place perfectly! The sparklers in the centers are KaiserCraft.

I cut my banner with my Cameo, and gave it a good spray with Iridescent Memories Mist too. 

My chippie is Dusty Attic and I have heat embossed it with Black Detail. I also used
my Cameo to cut my title, using 2 1/2" Tear-ific Tape applied to cardstock, then burnished 
with Meadow Spark GL. 

I am linking up a the following challenges:
Scrap Our Stash #13- Spring Colors
Lasting Memories- The Little Things


Thanks for stopping by today!

Happy Campers with Sparkle N Sprinkle

Howdy Blogging Buddies!
Is it almost spring?? Are we all ready for spring??
I am!! What about you??

Today I have a new DT Project for Sparkle N Sprinkle to share
This is my 3rd Girl Scout Troop at our Annual Spring Camp. 
I miss these days- and these girls!
The big kid there in the middle is DD2, the two little ones on either side of her are my
BFFs daughters. I can't get over how little they were! 
They are both Sophomores in high school this year!
My papers and die cut stickers are Basic Grey- old and new. 
Alpha stickers are Simple Stories. 
I created the stamped background by stamping the brocade pattern from 
#398Brocade Backgrounds with VersaMark, then brushing Pearl chalk
over it. The chipboard piece here is Blue Fern Studios and I used
EP440 Mojito,   and EP137 Shimmer on it.    

  I am so lovin' these 3D Foam Stars from Scrapbook Adhesives- they are awesome!
I burnished them with GM2007 Reflections

I inked this chipboard word and while wet I covered in EP137 Shimmer. 
Sorry about the lighting on this- With the shimmery background 
AND the glitter on the word my camera just did not want to focus
and I had to go straight up manual!

For more detailed instructions on this layout please 

Thanks so much for stopping by today!
Have a wonderful week!


Frosted Designs Sketch w/Twist Challenge Take Note

Hi everyone,I hope you have had
a wonderful week and are ready for the weekend!
It is my turn to host the challenge over

  This month we have a fabulous sketch with a twist. 

The sketch has been provided by Lisa Hidy, my wonderful
team mate!! Love it!!!
~AND~
The TWIST is to use BUTTONS AND BLING on your layout.
You gotta use both!


Here is a look at my take on the sketch
 My papers are Pebbles, Inc., and I have also used Dusty Attic & UmWow chippies, 
Wendi Vecchi Stamps, Memories Mist spray ink, Heidi Swapp Stencil,

I used bling under my title and the arrow on the right to call attention to my photo.
My buttons are little, tiny ones on the corner of my kraft tag under the photos.
 I did a lot of misting, stenciling, painting, stamping, etc on my background.


 Soooo,, if you haven't ordered a whole bunch of the Lindy's Stamp Gang Magicals Sets- you should hop right over to the Frosted Designs Store and do that. Because these things are AWESOME. For this look, I traced a stencil, then mixed a little bit of water with the Magicals powder and painted right on the paper. 
A-maz-ing! (you have to sing that!)

 For the flowers I stamped with Wendi Vecchi's new stamps (love them!) and
colored with Lindy's Stamp Gang Magicals. I mixed the dry powder with a small amount
of water, then painted like watercolor.

Here you can see my Buttons & bling- I love these little, tiny buttons!
I used Sparkle N Sprinkle Tuscan Sun EP on my title chippie.

My DD2  and the two other cuties in the photos were Camp Counselors at
Girl Scout camp for YEARS! They are great friends- with the strangest Camp Names :o)

You have until March 27th to link up your entry over on the blog.
 So be sure to join in the fun!

I am linking up at the following challenge:
Scrap Our Stash- #6 Sprinkles

Thanks so much for stopping by today!
Have a WONDERFUL weekend!!


Supplies use from the Frosted Designs Store:
Lindy's Stamp Gang Magicals Prairie Wildflowers
Lindy's Stamp Gang Magicals Industrial Chic
UmWow Studios Arrow Mash Chipboard
Dylusions Ink Spray- Calypso Teal
VersaMark Watermark Ink Pad
Shades Of Spring Kit- Distress Paint Juniper
December Mixed Media Paper Kit- Heidi Swapp Gold Color Shine


Bo Bunny mini album for The Crafty Scrapper

Good morning everyone!
We are finally home from The Caribbean Crawl 2014. 
17 days of island hopping is a lot! 
Now to edit the photos and decide what to scrap!

Today I have a super cute little album made with new papers from Bo Bunny
and a Maya Road chipboard album. Papers and album are both 
available at The Crafty Scrapper

Lots of Maya Road goodness going on here on the cover- 
the chipboard album itself, alphas, birdcage, wood heart, hexagons, 
and chippie butterfly are all from Maya Road. 
I have used a variety of embossing powders on the hexagons 
to add depth and texture.

The papers are new Bo Bunny Primrose and they are just as cute as they can be!!
The words here and the chipboard "mats" that I used for all my photos
are all from Maya Road. 

A little bling from Want2Scrap, a little vintage Prima, and a
swirly chipboard from Maya Road on these pages.


On these pages I fussy cut the flowers, frames, butterflies, and leaves from
the sheets of patterned paper, and layered them together to create
these decorations. 

The back of the album has a journal tag and a fussy cut butterfly layered on.
I left little spaces through out the album to write a few words.
Instead of paint I used my Tsukineko VersaMagic Ink Pads to color the larger
chipboard pieces of the album- faster and less messy than paint~!

Thanks so much for stopping by today!
Be sure to stop by the store and pick up some
of this fabulous Bo Bunny Primrose paper 
for yourself!