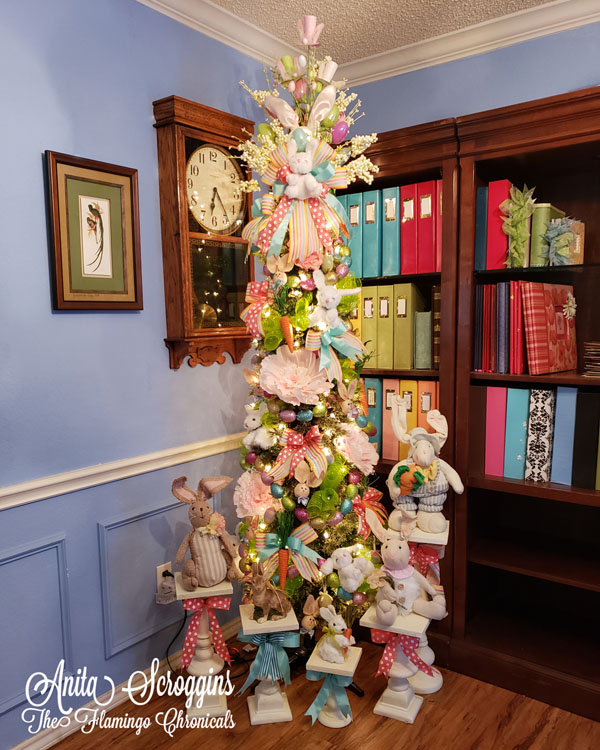
I had so much fun decorating my new Easter Tree and I can't tell you how happy I am with the Glittered Easter Egg Garland I made using eggs from Dollar Tree. This did not take me nearly as long as I thought it would- a couple of hours to string it all together and then an afternoon of going out to spray it with a clear topcoat every couple of hours. It came together much easier than I expected really!
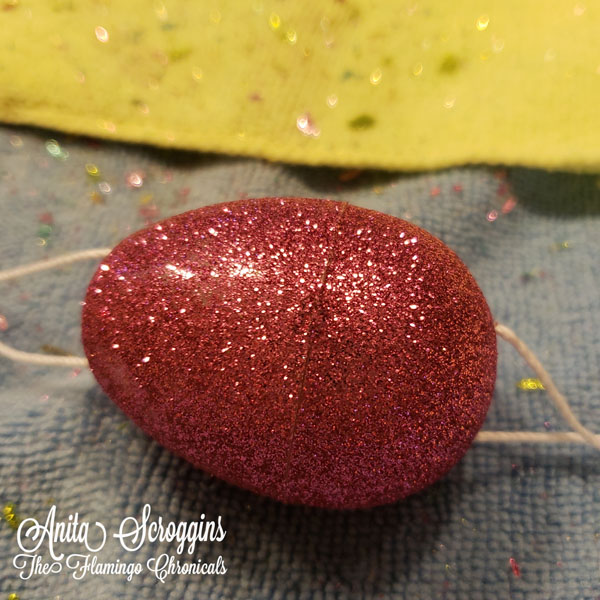
I bought 12 packages of these at Dollar Tree. Why I bought the glittered eggs I will never know. It was a moment of insanity I am sure- because y'all know I think loose glitter is the Devil's Dust. Seriously- I am working hard to ban it all from my home because it gets EVERY WHERE. Every. Where y'all. My husband even went to work one day with glitter in his eyebrow. He's a cop. He was not amused that someone noticed his glittered eyebrow!! Anyway, grab yourself 12 dozen eggs of your choice. They have to be the CHEAP eggs with the holes in the top and the bottom. High dollar eggs will be much more difficult to work with.
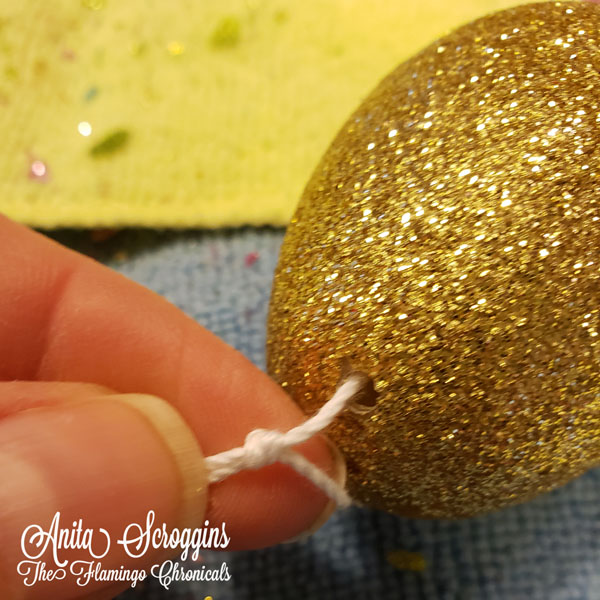
I lined my eggs up in order and opened them up. If the two holes on the top and the bottom are not defined (or are covered in glitter as in my case) then you will need to use something to open the holes up. I used an ice pick and just pushed through the glitter. Easy peasy. Also note that I spread out every microfiber cloth that I could find in the garage on my counter before I began. Those little suckers really hang onto the glitter!!
I used plain crochet thread - because that's what I had on hand- and used two long pieces. Tie the strings together at one end so the eggs don't fall off when your cat grabs them and runs off with them. Seriously. After running both strings through both halves of the eggs, close the eggs back up. There were six colors of eggs but I didn't like one of the colors and only used five.
After every five eggs I tied another knot in the strings so that if they
ever break maybe the damage will be slightly contained. I used the same five colors, in order, for the entire thing. NOTE: I made 4 short garlands rather than one really long one.
In hind sight I wish I had left a little more room between each section. The eggs were strung pretty tightly and it made the a little hard to actually get on the tree. I think a little more space between would have helped quite a bit.
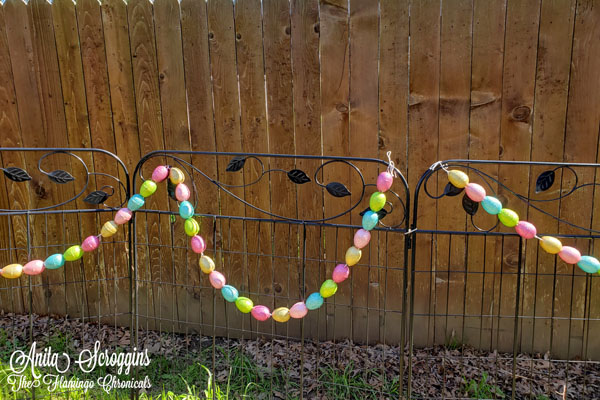
Did I mention how much I don't like loose glitter in the house? So after I had all the garlands strung together, I took them outside and tied them on the little fence. I sprayed clear coat all over them. lifting the sections up to spray the backs and undersides; then left them to dry. I did this three times because I wanted to make sure I got all the sides. Thankfully we had ONE nice sunny day while I was working on this project.
And there you have it! I love how the garland turned out and how it looks on my cute Easter Tree. I hope you give this a try- it was so much fun!
Be sure to check out my other posts for this project.
The - Easter Tree itself.
The - Giant paper flowers using DCWV Petal Papers.
The - DIY Easter Ornaments
The - Upcycled Candlesticks
It was a lot of work but I love how it turned out!!





No comments:
Post a Comment