This month at Gwen Studios the challenge is "Romancing the Ribbon". I decided to make a flower headband for my princess. DIY flowers are so easy to make too. I used a white grosgrain from Gwen Studios which is available at Wal-Mart.
Supplies:
- 7/8" White Grosgrain Ribbon from Gwen Studios
- Needle and thread
- Hot glue gun
- small circle of cardstock
- resin flower for center
- paper leaves
- fabric covered headband
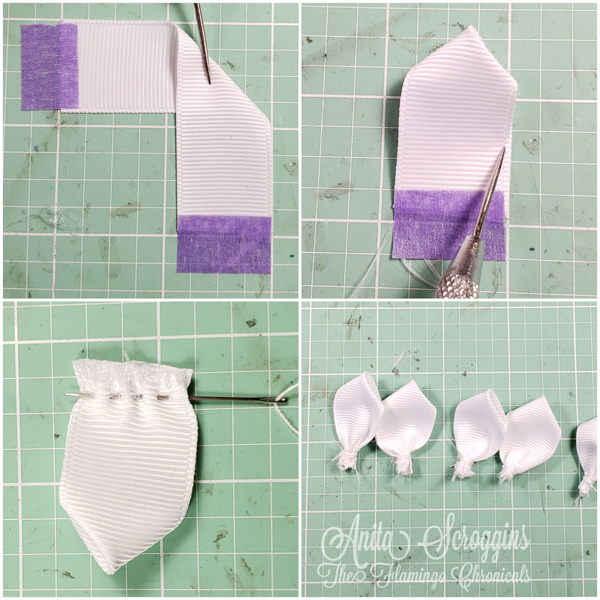
Start by cutting 4 pieces of ribbon, each 3" long. The process for folding them is easy, it just takes a little practice! I use the grid on my mats to help me get them even. For the 3" length I line the corner of the ribbon up a shown in the first photo above. Once I have it lined up, fold the upper cut edge (on the left in the photo) over to line up with the lower cut edge (on the right in the photo). Pick the ribbon up and thread a needle through the bottom as shown. Gather the bottom together, wrap the thread around it a couple of times, then tie the thread off. Repeat 4 more times! (The purple tape is there for the photo only, I don't normally use it!).
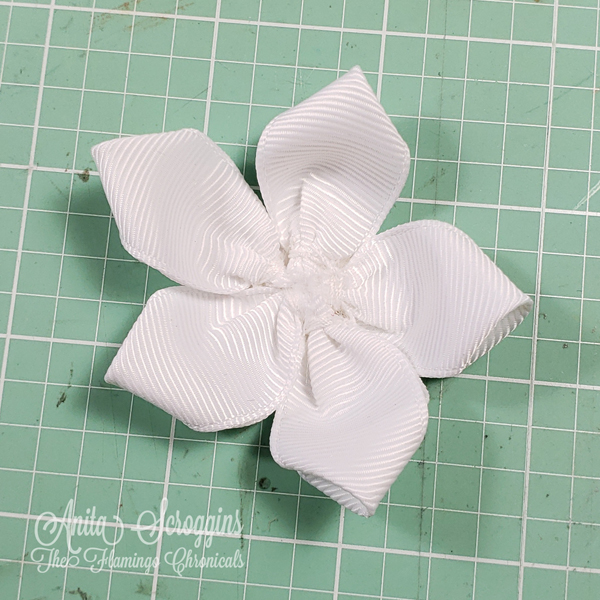
Trim the bottoms of each petal close to the wrapped thread being careful not to cut the thread. Use hot glue to adhere the petals as shown to a small circle of cardstock. Add a pretty center and you are done!
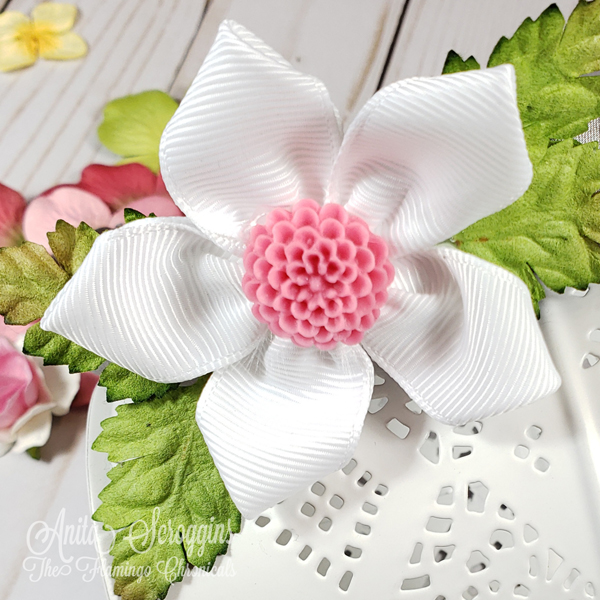
Ta-da! Look how pretty it is! I love how these flowers look. Imagine a rainbow of ribbon flowers on a headband or pillow! I used hot glue to adhere it to the headband and I added a couple of paper leaves to each side to fill it out.
I can't wait for the next time the princess visits so she can wear it. I think she is going to love it!
Be sure to check out all the great projects from the Gwen Studios design team over on the blog. There are some fabulous projects!


No comments:
Post a Comment