Showing posts with label Gelatos®. Show all posts

Our Love Story Album

It's first Monday and it is time for another hop through the web ring of Designer Crafts Connection. To hop through the ring, use the Hop Back and Forward arrows on the button in my sidebar to the right.
This month's theme is "BLING" - and we all know I love bling! I started this little mini album a while back, but just hadn't finished it off.

 I use chipboard for the covers and used my WRMK Corner Chomper to round the outer edges. My paper is from Authentique. I used stencils and Gelatos from Design Memory Craft to color the front cover. I used my WRMK Cinch to bind it all.

I added a 3x3 mini canvas to the front over, and I used Gelatos again to color it. I added some Maya Road chipboard pieces, which I inked and covered with more Authentique paper, then coated with Sparkle Mod Podge- which is just about my favorite thing on earth.  The pearl is from Melissa Francis.


To texture the cover, I used a combination of stencils, Gelatos from Design Memory Craft, molding paste, and chunky glitter,  then brushed the whole thing down with Sparkle Mod Podge. I also added a stick pin that I made- you can check out my tutorial here

Be sure to check out the other projects in the hop- there are some uber talented artists in the group and check out The Designer Crafts Connection Blog too. 


CHA Recap Part 1

Hi everyone, I had lots of fun and saw so many amazing things at the CHA (Craft Hobby Association) Convention in Anaheim last week. It is so exciting to be able to go and see the new products each year. Here are some of the photos I took while walking the show floor- these products are will be shipping soon! We ordered lots of them for The Crafty Scrapper so keep your eye out for all the goodness to come.

 Of course, my very first stop on the show floor was BAZZILL - because you know I love that paper!


Pink Paislee, Heidi Swapp, and Bazzill had a Make N Take going on the first morning of the show, and I was lucky enough to get in on it! I have a very cute canvas album to finish up- you can see it in the photo to the left here; the one with the silver star on the cover. And the star is all in sequins, which makes it even better!


Next up was the Faber-Castell® Design. Memory. Craft. Booth- they had some fabulous Mixed Media products to release this year and I can't wait to get my hands on them!


We R Memory Keepers has some really cute new albums - and you know I love their albums! And the new FUSE tool was one of the hits of the show. I can't wait until these ship so I can play with it! We will be having Demos at the store, so stay tuned.


Kaisercraft always has beautiful papers and embellishments and this year was no exception.


I was lucky enough to be able to take a mini-class at Bo Bunny to play with some of their new products and I absolutely love the new Glitter Pastes! I have a couple that were released last year, but I am pretty sure I am going to need all of them!  They are also releasing some really pretty laser cut chipboard pieces that you will be seeing in my upcoming classes.


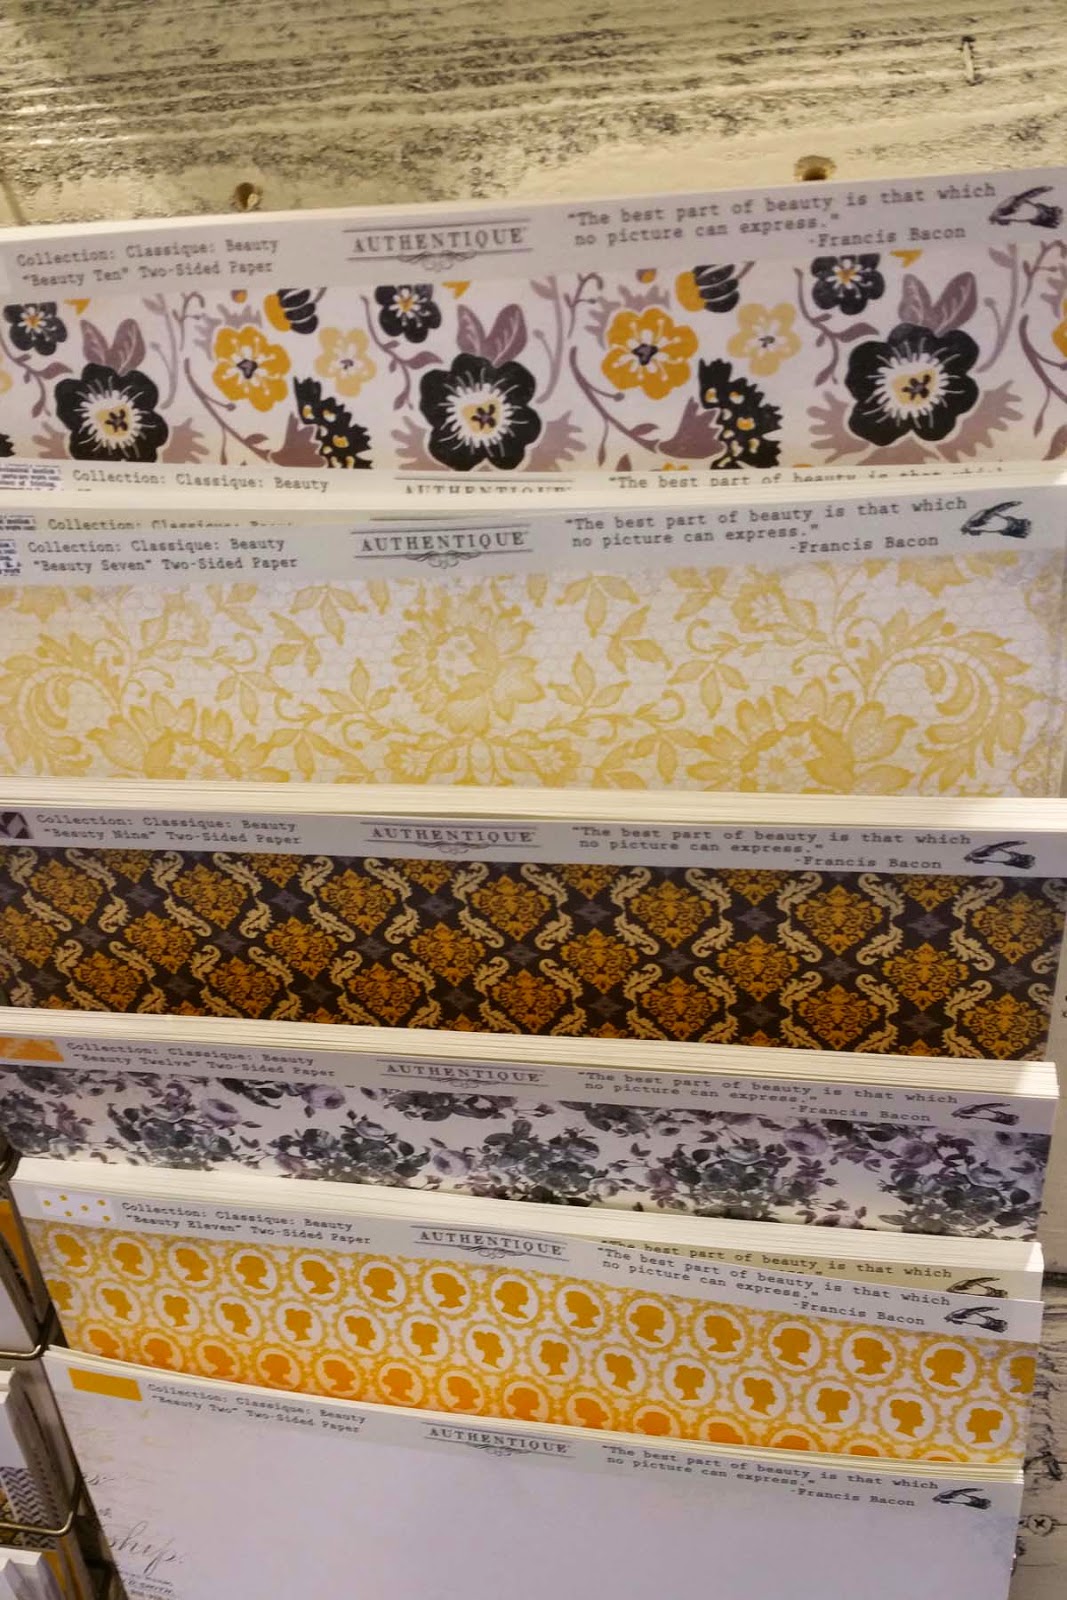
I don't know why I don't have more photos of the Authentique booth- because they really are on of my favorite paper companies! Somehow I came home with one photo of this really happy paper line.  I will be featuring this in an upcoming class for a home decor project.


Ruby Rock It had some really cute items for cardmakers.


 Wendy Vecchi had some fabulous stamps this time around, plus beautiful new colors of ink and embossing powders!


 OK- for all the Disney scrapbookers out there- this is the best embellishment I have sen in a while! They are not shipping yet, but they will be on the way this spring. These are from Jesse James Beads/ Dress It Up Buttons and they are the cutest things EVER.  There are many more varieties and I can't wait to get my hands on them.


 Of course, stencils are right up there on my list of things to have and there were some great ones released this spring.


 I was so excited to see the new ADHESIVE ribbons at May Arts booth. You know you want some- who doesn't? There are lot's of these on the way to the store!


If you are a Filofax fan- these new journals from Pink Paislee are the same size as a Filofax and they are so cute!  They have the most amazing accessories to go with them too - so if you are looking to streamline your everyday memories, this is a great way to go and we will be having some classes using these great books.


 So we all know I am a big fan of the Tsukineko brand of inks which is under the Imagine Crafts label and they had some great additions to the line up this year. There are several designed for mixed media art and you are going to love them!


The Delicata ink is a metallic ink that works on dark and light papers and is suitable for very detailed stamps. 


The StazOn Studio Glaze creates a Stained Glass effect on glass surfaces WITHOUT BAKING. It is available in all the StazOn colors and it is amazing stuff.


The Amplify! Is very cool for adding dimension to your projects- use directly from the bottle and heat set to puff it up!


Of course, we have all been drooling over WRMK new rolling totes- with an optional cup holder no less! They are available in some yummy colors.


 That's it for today- I will have more later in the week, including all the photos from the Ranger booth!  Thanks for stopping by today.


Cool 2 Cast Blog Hop

Hi everyone, how is your week going so far? Who believes it is November already? Are you hard at work on your Christmas projects? I have made a good start this year and I want to share one with you this today.

I was given some fabulous product to work with this week that I had not previously had the chance to work with- Cool2Cast Casting Medium. I have to say that this stuff is pretty cool!

Tiffany Windsor teamed up with Bella Crafts Quarterly to publish a new eBook Cool2Cast and to celebrate we are having a book review blog hop! Yippee! To see all the details on the book, and find all the wonderful people participating in the blog hop check out Cool2Create here.

I had a pretty good time playing with the medium and I pulled some things from my stash to use as my mold. Who remembers those super cool things we all had to have (but never used) from Ranger that went with the glass slides from like 10 years ago???
These thing,, remember these things? And I bought every single kind they made, because they were so unbelievably cool and I was going to use them in so many ways. Yeah, right. Still UN-opened packages in the box of "stuff" on the shelf.
Don't judge- you know you bought some too.

Anyway, I thought these would be amazing molds.
I was right, so my purchase was not a waste after all (which is exactly what I am going to tell the hubs tomorrow). The Cool2Cast medium poured right in and set beautifully. Because these little things are pretty flexible, they popped right out.

I pulled out a mini canvas and some Gelatos® while I was waiting on the molds to set up. When they were completely dry, I inked one with Adirondack ink as recommended, stamped on top with StazOn, then gave it a spritz of Heidi Swapp Gold Color Shine- because that stuff is like Ranch dressing and everything is better with a little bit on it.
I added a little bit of paper from the new Bo Bunny Candy Cane Lane line, and some embellies from my Christmas bucket. DONE!

I hope you give this medium a try- because it is awesome! I can't wait to play with it again. Be sure to hop on over to Cool2Create to play along with the blog hop- there is an amazing prize up for grabs!

Thanks so much for stopping by today!
Anita

The Deconstructed Layout #16- Tower of Terror


Tower of Terror layout
In today's Deconstructed Layout we are all about the background!Today my project is about making your own background. I have used a plain piece of solid cardstock and altered it using stencils, Gelatos®, PITT® Pastel Pencils, ArtGRIP® Aquarelle Watercolor Pencils, stamps, spray inks, and molding paste.


http://theflamingochronicals.blogspot.com/p/deconstucted-layouts.html

To see the whole series of Deconstructed Layouts click on the logo.

stenciled background

For the base layer I used a 12x12 stencil and filled in the circles using watercolor pencils, Gelatos, and pastel pencils. I then outlined all the circles with a fine tip black pen - one that won't run when sprayed with water! I moved the stencil and sprayed lightly with water so make the watercolors run in a few places. I also added a few sprays of ink here and there. 

stamped background
The next layer is some simple stamping. I used an old background stamp that I bought years go - it's a basic shape that works well on pretty much everything. Next up is a layer with stencils and modeling paste. When the paste was dry I used a damp sponge and Gelatos to color it. This method also deposits a bit of color in other random places so beware. 

stencil texture
Here's a close up of the colored paste. You can see how the color is uneven and leaves some areas of the paste white. The very last layer on the background was to add some shimmer spray. It's hard to see in the photo but it's just visible at the top of the beige circle. 

Here are a few close ups of the layout. 

lots of layers
I used lots of layers under my photo for added visual texture. 

using layers
Lots of layers here too - eight layers total at the corner of the photo. Because they are all flat layers it doesn't add any really bulk to the layout so it will still slip easily into my albums. 

Steven Tyler riding along
Yeah,,, that's Steven Tyler in the back row. 

Journal card

I always add journaling to my layouts in my own hand writing.  I started scrapbooking to tell stories and I just can't do a layout with out telling the story! If you want to know why you should use your own hand writing, rather than a printout, on your layouts, see my post here on why it is so important.


Mixed media layout
Way back in the day, when I was a Band Mom, we went to Walt Disney World one year for competition. As a group of us were standing right at the front of the line to get on the Tower of Terror, who should walk right up to the front of the line but Steven Tyler of Aerosmith!


If you would like to see more of The Deconstructed Layouts
the entire series is shown HERE.