Hi everyone, today I am hopping with Designer Craft Connections and StyleTechCraft™ Vinyl. I **LOVE** StyleTechCraft™ Vinyl. Really. I have used every brand on the market and NOTHING weeds like StyleTechCraft™. I don't even put weeding lines in my designs anymore!
Affiliate links are used in this post. Please see my disclosure policy here.
I used my Silhouette Cameo to cut the vinyl.Have you tried the new Silhouette Cameo 4 yet? I really love mine!
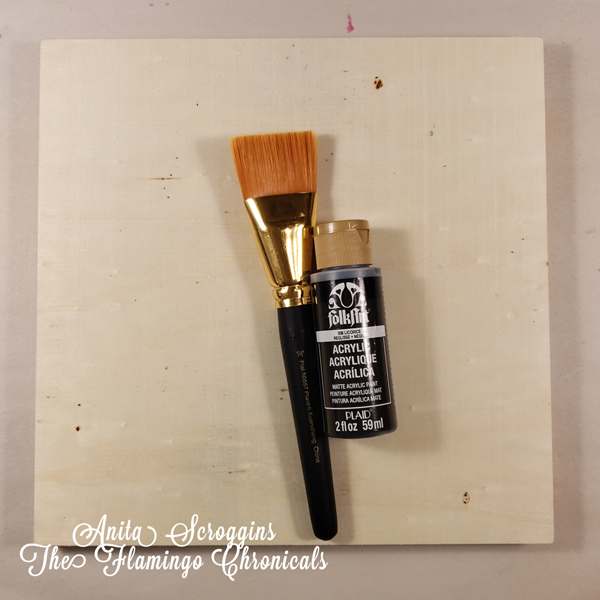
I started by prepping my surface with Folk Art Licorice Acrylic paint and a large flat brush, also from Plaid. The sign base is a 10 x 10 Wood Canvas from Plaid. It will cover with one coat of paint- but it is unfinished wood and will soak up a fair amount of paint.
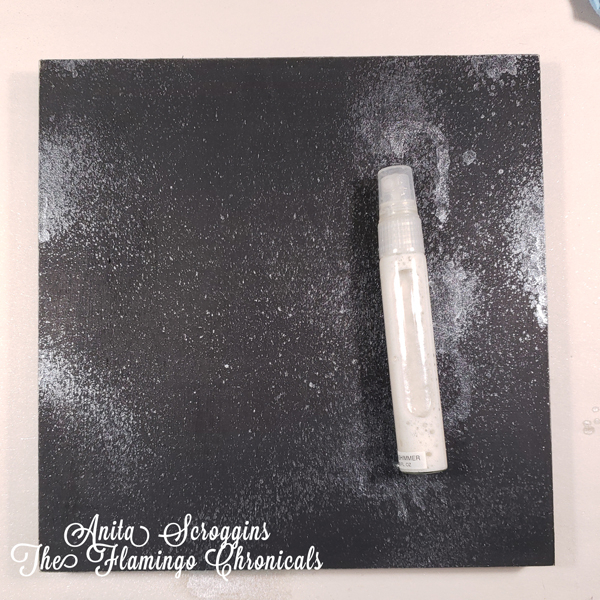
Once the paint was dry I added some sparkle using Shear Shimmer Spritz Spray from Imagine Crafts. This stuff is one of my go to products. I love adding a little bit of sparkle to my projects and this is quick, dries quick, and is beautiful!
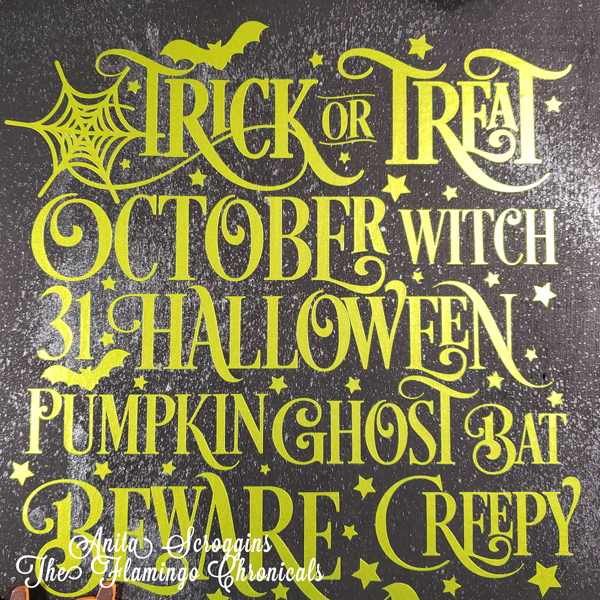
I used StyleTechCraft™ Luster vinyl Lemon-Lime #900 for my design and cut it using my Silhouette Cameo. This design is from the Silhouette Store and I used it as -is. I resized it for my project but that was it.
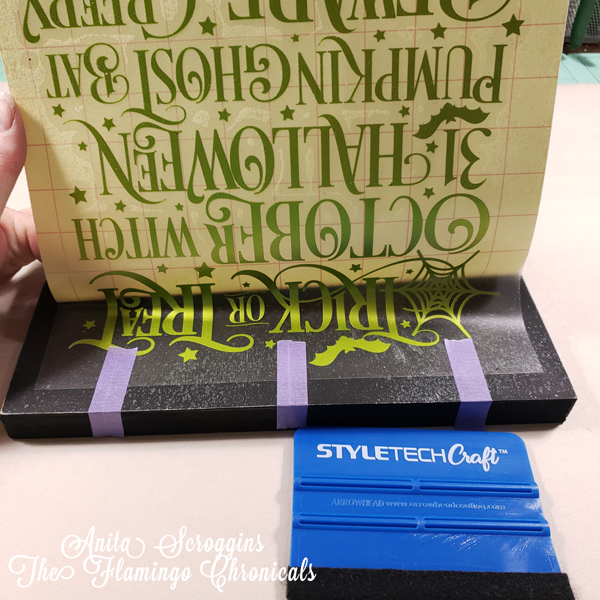
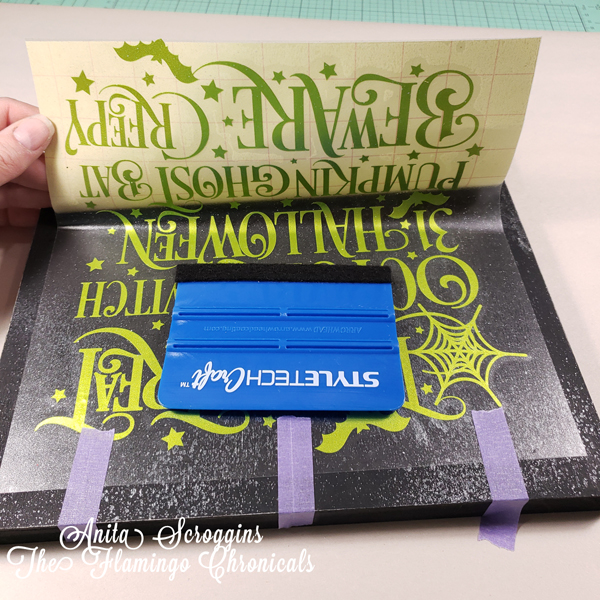
For a large design like this I like to use the Hinge Method to apply my vinyl. After weeding and applying transfer tape I cut a small strip from the top of the backing (be sure to allow for this when you cut the transfer tape). Then position the design in the base, using a few pieces of low tack tape. I used the Purple Tape from Therm-o-web. It is great!
Here you can see the small strip of transfer tape that extends beyond the backing.
Next up I lift the design up and begin pulling the tape backing away from the design, while smoothing the design down using a scraper. Go slowly and make sure each piece is secure on the backing before you pull more of the tape backing away.
Keep going slowly until you have the entire design down. Then use the scraper to go over the entire design to make sure that everything is pressed firmly to the base.
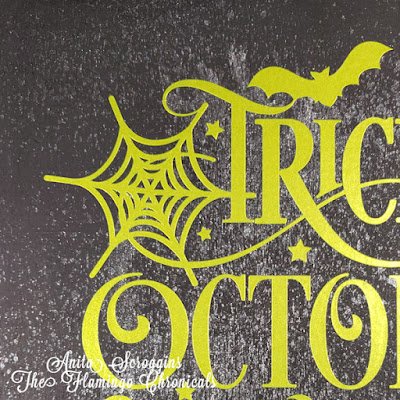
Here are a few close up shots.
See how shiny the Luster vinyl is? Love it!
Be sure to hop over to the Designer Crafts Connection blog to see all the
amazing projects made with StyleTechCraft™ Vinyl.







What a super cute and detailed project!
ReplyDeleteI am definitely going to give the hinge application method a try! Thanks for the tutorial. Love the vinyl color you chose - it really shimmers!
ReplyDeleteVery cute project. I've never tried the hinge technique. Learned something new.
ReplyDeleteSo very cool, Love all the details.
ReplyDeleteGreat project!
ReplyDeleteThis comment has been removed by a blog administrator.
ReplyDeleteSo good!
ReplyDelete