
Hi everyone!
Today I have another project for
The Deconstructed Layout.

For today's project we are going to be working with the
fabulous Lindy's Stamp Gang Magicals powders, which of course are
available in the Frosted Designs Store, so be sure to pick some up!

Here is a look at my project,,

I used the Prima Princess papers for this project, along with the new Heidi Swapp
Watercolor Tags, some UmWow chipboard, and Petaloo flowers.
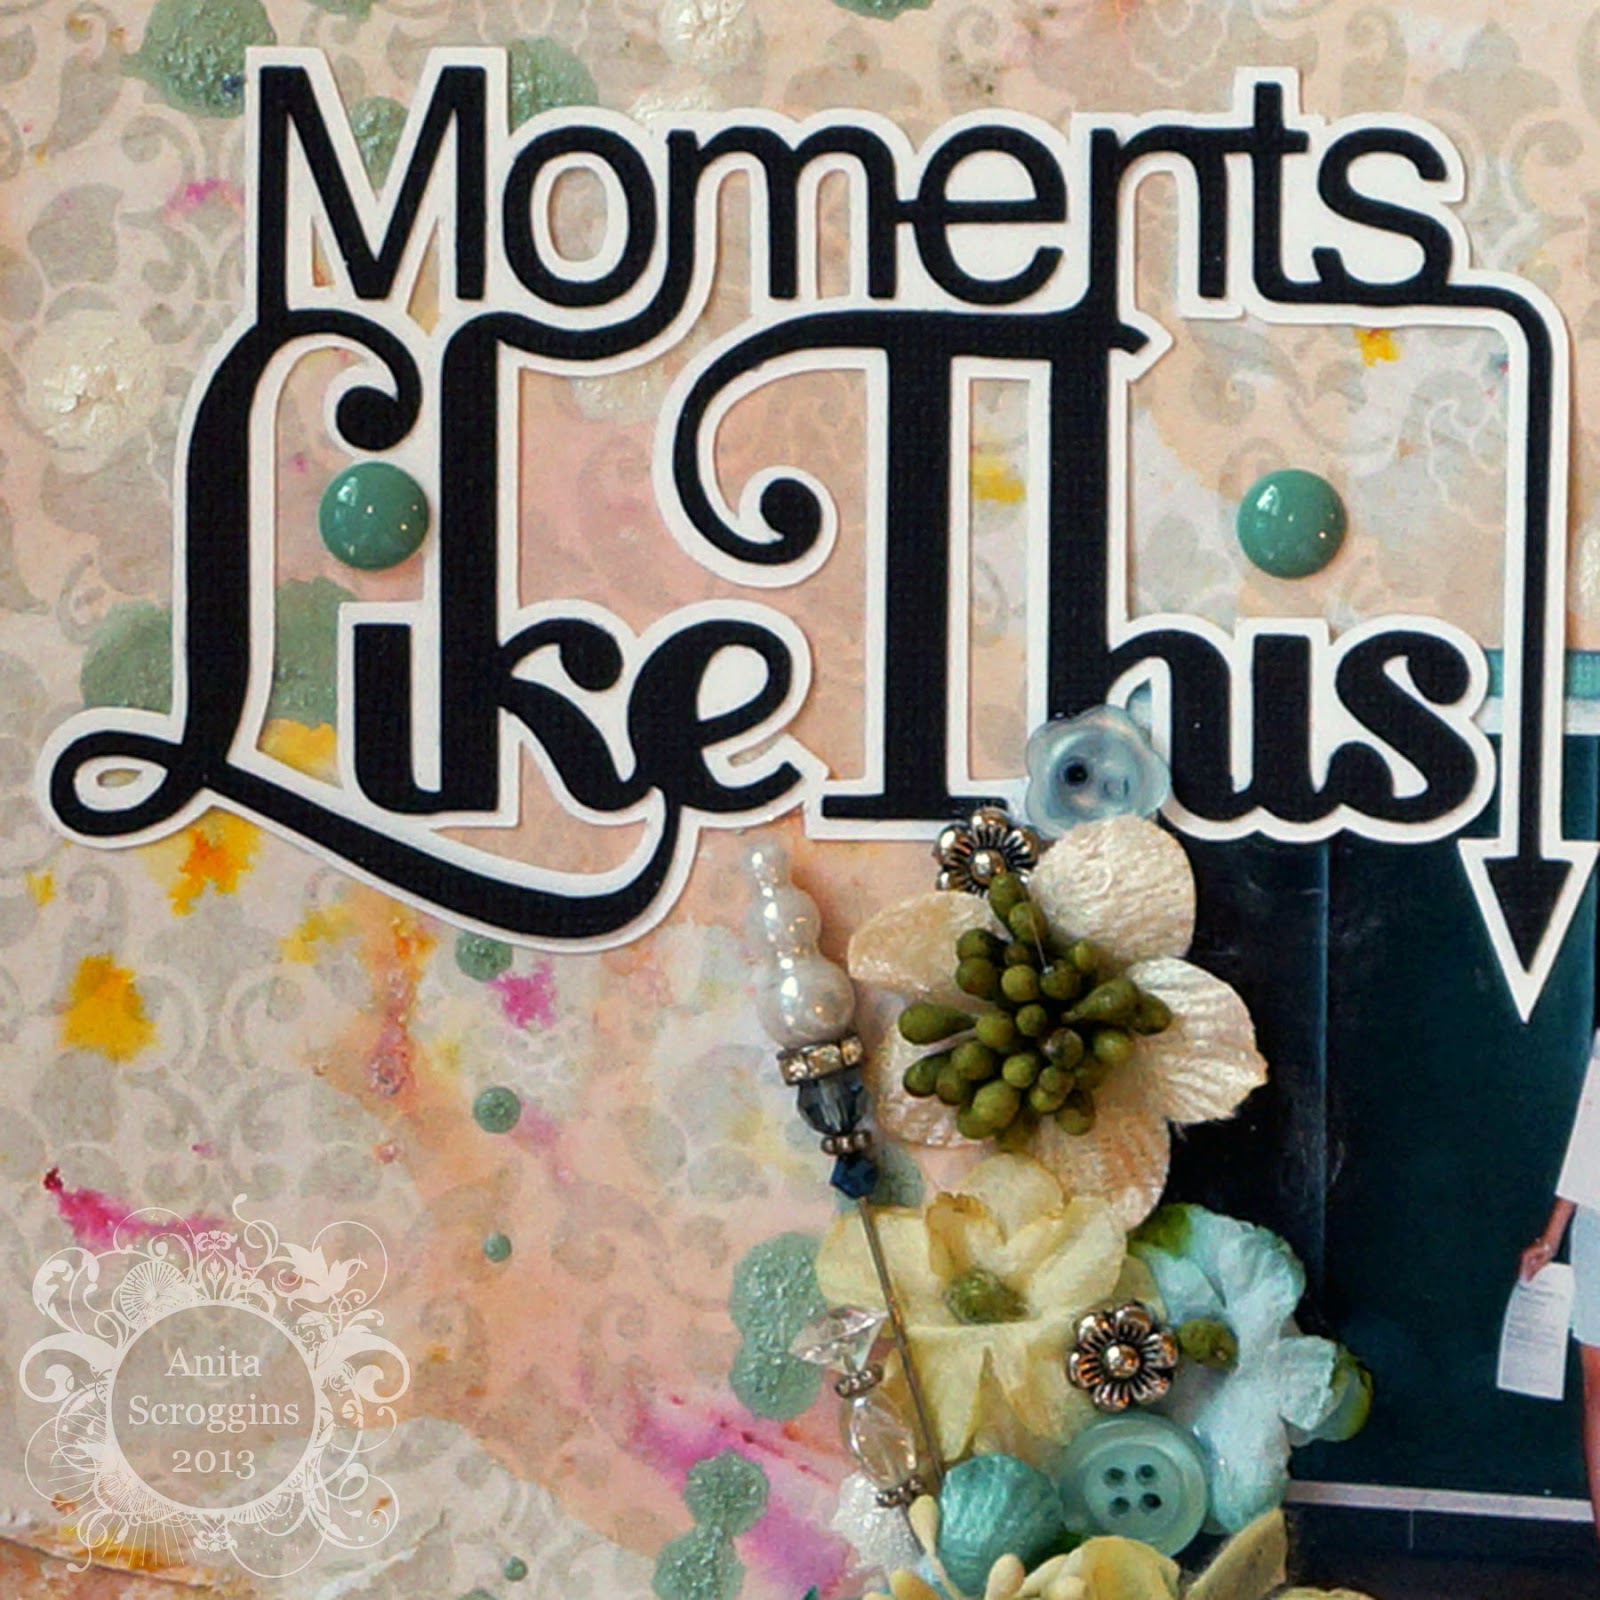
I love this background I created with the Lindy's Nantucket Pearls Magicals
Set- I have several sets, but this one is my favorite!
Here is how I did it,

I started by sprinkling the DRY powder onto my background paper, just a little bit
then spread them around with my palette knife just a bit. . Here I used
the Cape Cod Coral- I love how these powders start white and change to such
beautiful colors when wet!

Give the powder a good mist of water, until the colors start to run. I did
not use a paintbrush or anything else to mix them, I just sprayed with
water and then picked my paper up and tilted it from side to side to let the
water run around the page.

Once you have moved the water around the page a big, use your heat gun to
dry the excess water. I held my paper up off the table while I did this so that
the water was still moving around the page- the heat gun will also blow it around a bit.
So it will get mixed up pretty well! Depending on how much water you sprayed
on, you may have to blot the last little bit of water off the page.
You can add another layer of powder and repeat if you like.

I am also loving the new Decorative Edge Chalk Tape from Fancy Pants. It is
great to write on with your white Signo Pen. A couple of tips on that
#1- write slooowly- the ink really needs time to flow out
#2- set it aside to dry for a bit. Heat drying does not work on this- trust me.

I sprayed my Heidi Swapp Watercolor Tag with silver ink, then stamped over it with
dye ink. I placed a bit of black cardstock behind to make the word stand out.
I am linking up at the following challenges:
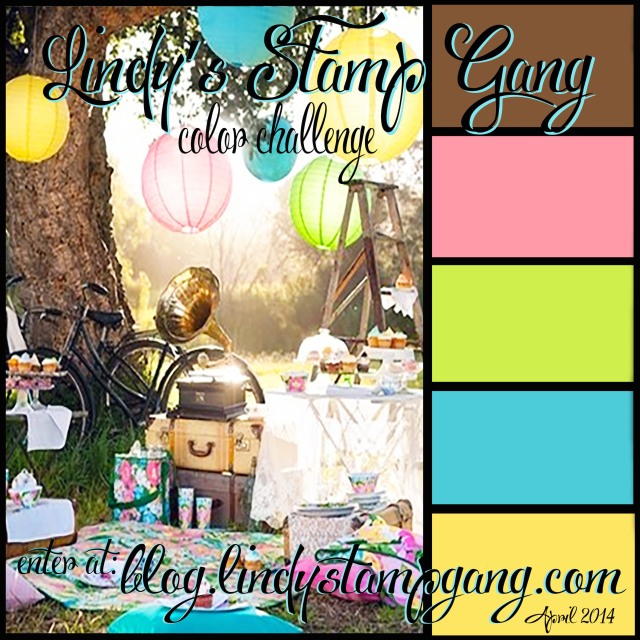
Lindy's Stamp Gang April Color Challenge

City Crafters Challenge Blog - Paint It!
Southern Girls Challenge Blog - Earn Your Stripes
Lindy's Stamp Gang April Color Challenge
City Crafters Challenge Blog - Paint It!
Southern Girls Challenge Blog - Earn Your Stripes
Well, there you have it!
I hope you give this background technique a try- it is so easy and fun.
You will be super impressed with the results!


