Showing posts with label Quick Quotes. Show all posts

Oceans of Fun- New Echo Park Papers

Howdy blogging friends!
How is the weather where you are?? Isn't it super freaky this year?
I have a friend in Colorado that got snow yesterday! It has been raining
 here for days and the temp is down to the low 60s today. Not that I am complaining!

Today I have a new layout for The Crafty Scrapper to share
using some really cute new Echo Park Papers!!

 How cute is this new paper!!! It is Summer Adventures from Echo 
Park- be sure to get yours before it is all gone! If you are not near the store, remember- they ship!

I used a stencil and Molding Past to add some texture to my background. The flowers are Vintage Prima
and the chipboards are BLue Fern Studios, and they have been embossed using Sparkle N Sprinkle EPs.

  I used my Cameo to make my layered title using Bazzill cardstocks. 
So you have a Cameo and want to learn more ways to use it? I will be teaching a series of classes
on how to use your Cameo starting in June/July.

The journal card is also from the same paper line, and I used torn 
strips from the line to make a layered mat for my photo and 
inked them with Powder Puff ink from Quick Quotes.

The word art here is trimmed from one of the Journal Cards, and I added a little bit of bling down each edge to make it pop. In the upper corner I used a square chippie from MME to accent- I cut it in half so it would fit where I wanted it. These are also available at the store. 

I am linking up at the following challenges:
Quick Quotes- use torn paper
Use Your Stuff - use ribbon/fibers


thanks so much for stopping by today!
Have a wonderful week and may the Flamingos be with you!

Anita


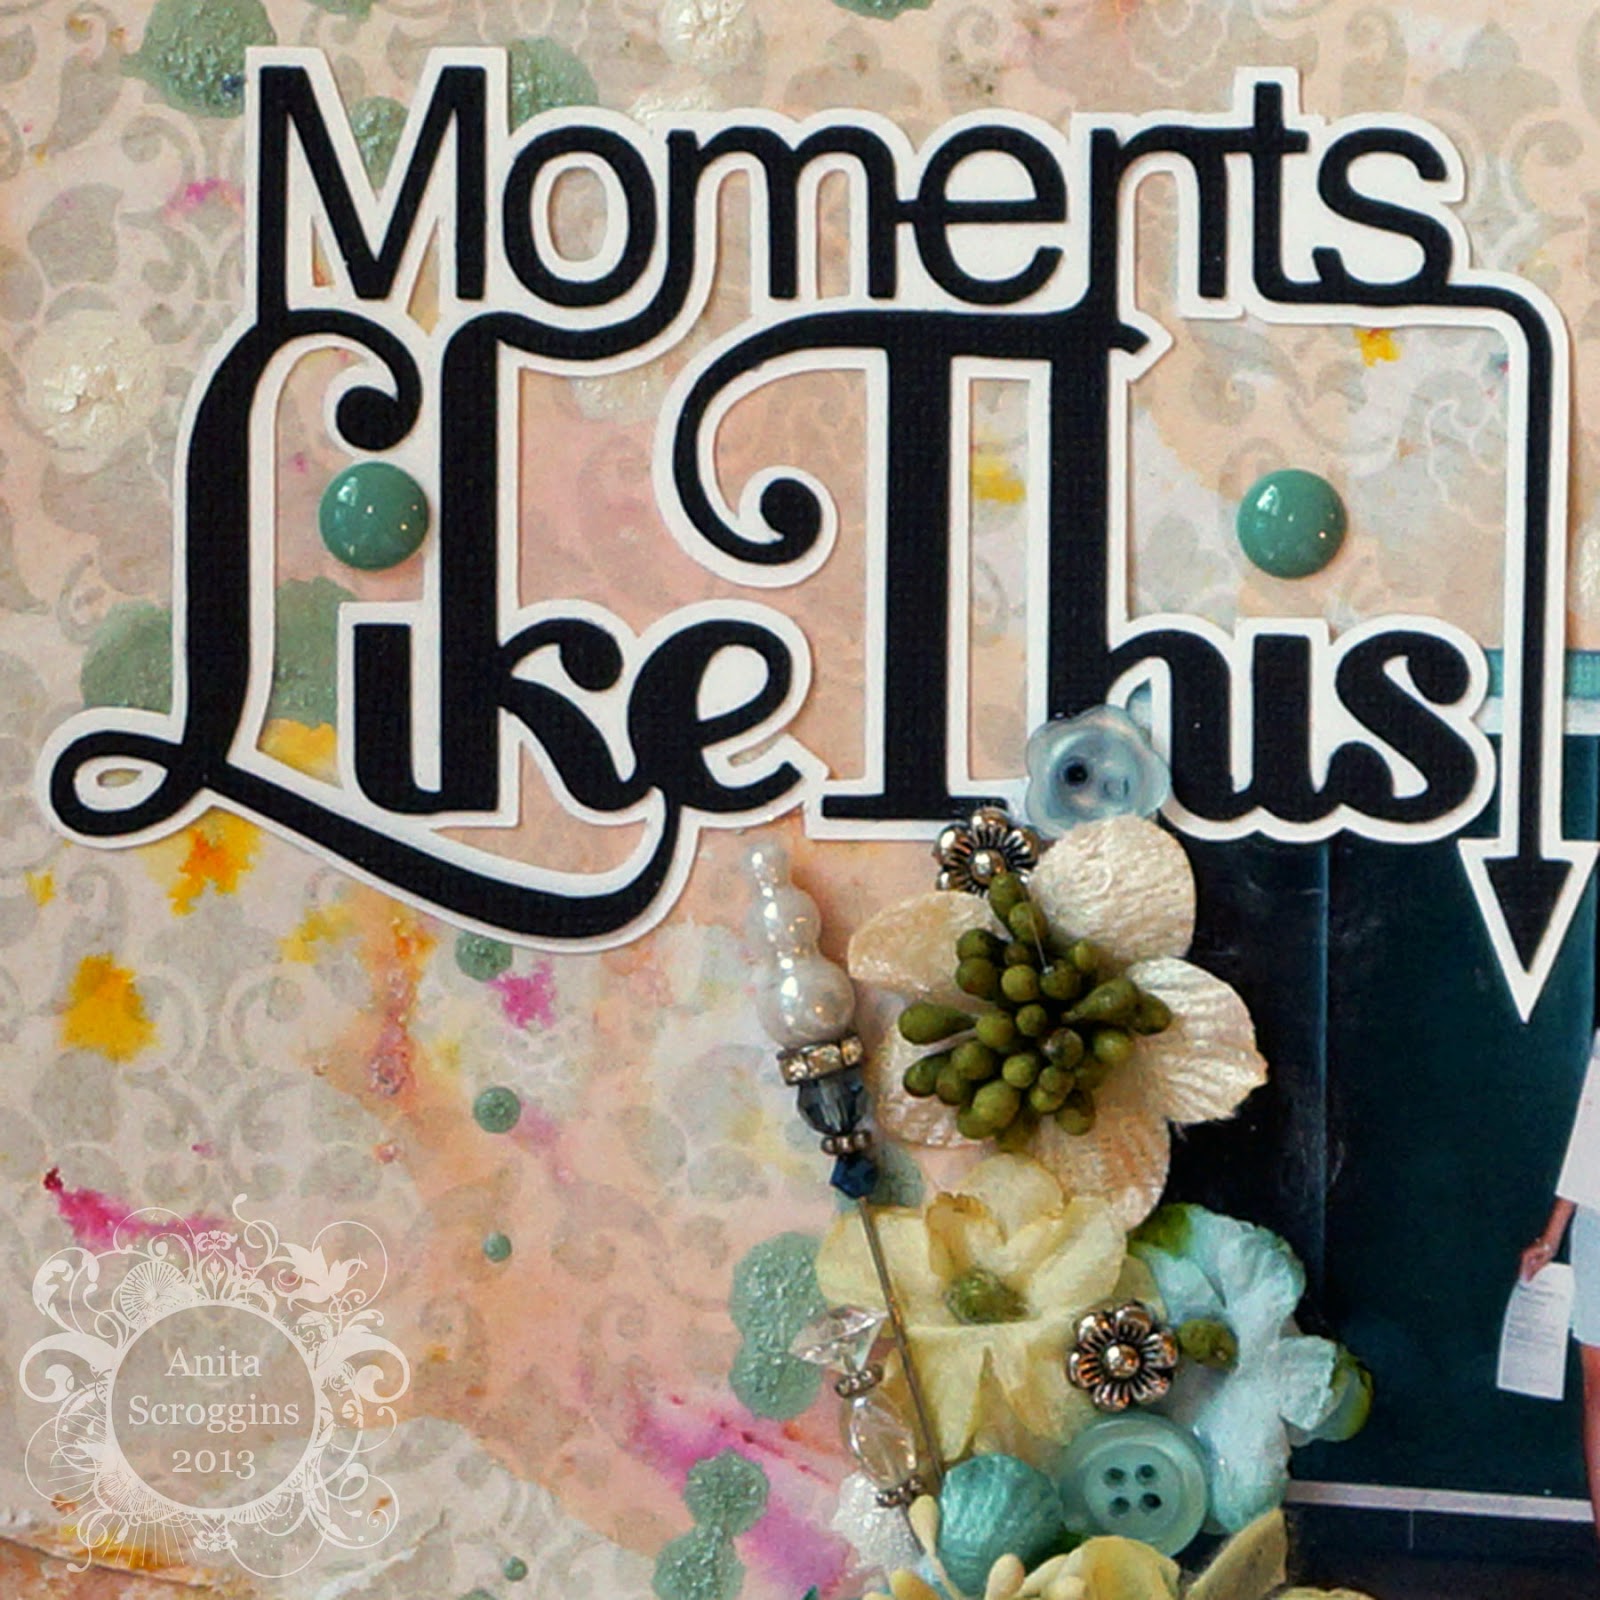
Deconstructed Layout #4 Moments Like This

Hi everyone!
Today I have another project for
The Deconstructed Layout.


For today's project we are going to be working with the 
fabulous Lindy's Stamp Gang Magicals powders, which of course are
available in the Frosted Designs Store, so be sure to pick some up!


Here is a look at my project,,
I used the Prima Princess papers for this project, along with the new Heidi Swapp
Watercolor Tags, some UmWow chipboard, and Petaloo flowers.

I love this background I created with the Lindy's Nantucket Pearls Magicals 
Set- I have several sets, but this one is my favorite!

Here is how I did it,
I started by sprinkling the DRY powder onto my background paper, just a little bit 
then spread them around with my palette knife just a bit. . Here I used
the Cape Cod Coral- I love how these powders start white and change to such 
beautiful colors when wet! 

Give the powder a good mist of water, until the colors start to run. I did 
not use a paintbrush or anything else to mix them, I just sprayed with 
water and then picked my paper up and tilted it from side to side to let the 
water run around the page. 

Once you have moved the water around the page a big, use your heat gun to
dry the excess water. I held my paper up off the table while I did this so that
the water was still moving around the page- the heat gun will also blow it around a bit.
So it will get mixed up pretty well! Depending on how much water you sprayed
on, you may have to blot the last little bit of water off the page. 
You can add another layer of powder and repeat if you like. 

I am also loving the new Decorative Edge Chalk Tape from Fancy Pants. It is 
great to write on with your white Signo Pen. A couple of tips on that
#1- write slooowly- the ink really needs time to flow out
#2- set it aside to dry for a bit. Heat drying does not work on this- trust me. 

I sprayed my Heidi Swapp Watercolor Tag with silver ink, then stamped over it with
dye ink. I placed a bit of black cardstock behind to make the word stand out.

I am linking up at the following challenges:
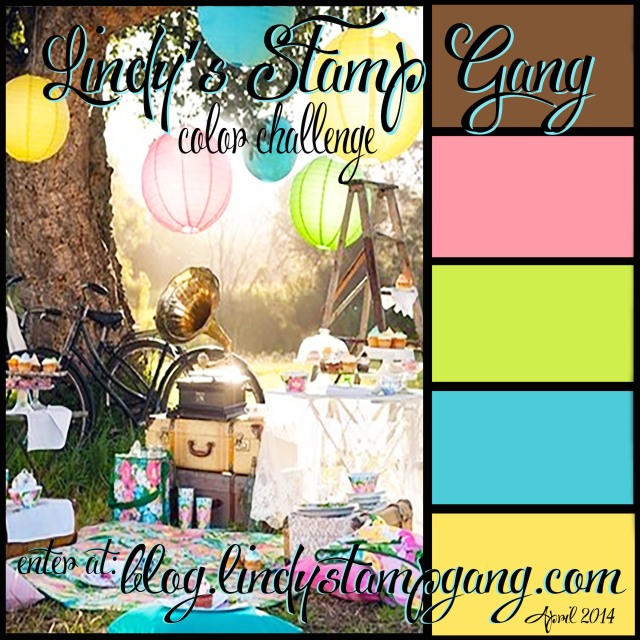
Lindy's Stamp Gang April Color Challenge

City Crafters Challenge Blog - Paint It!
Southern Girls Challenge Blog - Earn Your Stripes


Well, there you have it!
I hope you give this background technique a try- it is so easy and fun.
You will be super impressed with the results!


OUCH! - Frosted Designs Challenge Journaling plus One

Happy, Happy, Friday everyone!!

What are your plans for the weekend?
I am doing a Make N Take all day tomorrow- so much fun!!

Today, however, I have a project to share with your for
FROSTED DESIGNS,,


It is Lori's turn to host the challenge and
she has chosen Hand Writing + 1- Paint/Mist/Ink

Here is a look at my project,,,
I have used FabScraps papers, Blue Fern Studios chipboard,
Wendy Vecchi Stamp/Stencil combo, Fiskars punch, 7 Gypsies Stamps,
Quick Quotes Powder Puffs Inks and my Cameo.

For my pennants, I used the Little Yellow Bicycle wood pieces from the
Season Of Stars Scrapbook Kit - but I turned them over and inked them with
Biscotti Powder Puff Ink to match my color scheme.
I used my Cameo to cut my title, it is cut from double sided tape applied to cardstock,
then burnished with micro fine black glitter.

I used my beloved 7 Gypsies journal stamp set along with the Biscotti Ink to
accent this corner- you know I can't take any white space!!

I am so in love with these stamp/stencil combos from Wendy Vecchi - they
are amazing!! I have used Dylusions and Perfect Pearls here to color
my stamped image. I accented with the Signo White Pen.

 Be sure to hop over to the blog and see
the other projects from our AMAZING Design Team!!

Thanks so much for stopping by today!


Mom And Me Campout

Hi to all my blogging friends!
How is your summer so far?I am off to retreat day after 
tomorrow so I am getting ready, I have got this 
packing down to an art after all these years.
My totes are out of the attic and I am ready to go!

Today we have a new palette at ColourQ and I have my DT project
to share. The colors were not the easiest for me. I have been
wanting to challenge myself to work with a black background
so this is what I came up with,,,,,

I have another page from my Girl Scout Album that I have redone. The little cutie second
from the right, bottom row is mine. I have used: 
Papers: Graphic 45, Bazzill / Embellies: Jenni Bowlin Studios, MME, Prima,
I Am Roses, Recollections, Basic Grey, Want2Scrap / Tools: Sizzix, EK Success /
Stamps: Wendy Vecchi / Ink: Tsukineko, Powder Puff by Quick Quotes, WOW Embossing Powder
 I cut a LOT of strips from Graphic 45 Bohemian Bazaar to make the border
down the side of the page. Each one was inked, crumpled and glued in place.
The roses are from I Am Roses, of course!
The stick pin I made, you can find the tutorial here.

 I am so loving these stamps from Wendi Vecchi!!!
The swirl and hearts are a Sizzix die, I used my PITT® Artist Pen in Medium Black to accent
the paper strip with faux stitching and for journaling. 
I used a Prima mask and Tsukineko Glimmer Mist to color the background. The 
chippie is from Want2Scrap and is embossed with WOW Embossing Powder.

Here is a look at our palette this week
What are you inspired to make??? You have until next Monday to link
up your project over on the ColourQ Blog so be sure to join in the fun!

I am linking up at the following challenges:
Quick Quotes: Dimension (inked paper strips)
Berry Bleu - Anything Goes
Divas By Design - Cute - because, seriously, how cute are those kids!
I Am Roses - use two products - two roses


Thanks for stopping by today!
I love to read your thoughts - so please leave a comment!
Anita

Up, Up, and Away

Good Morning blogging friends!
So happy it is Friday!!
 We have a new challenge up at Frosted Designs and this time
around it is Up, Up, and Away!

I have chosen to use Butterflies on my project.
My papers are Best Creations and Prima. My embellies are Prima, Want 2 Scrap, 
Pink Paisley, October Afternoon, Bazzill, and Recollections.
I used Quick Quotes Powder Puff Inks - love those chalk inks!!
Here I layered Bazzill and Prima flowers, gave them a spritz with Tsukineko Glimmer Spray and added an October Afternoon button. Punches are from EK Success and Martha Stewart, Zipper trim is Maya Road, and the wood butterflies are recollections. I used my Blue Metal Gelatos® on the chipboard heart.
The butterfly is from Prima, and I used a Crafter's Workshop stencil and Tsukineko
 inks to add the branches across the top. 
I used my Gelatos® again to color the Pink Paisley border strip on the photo and 
I used my PITT® Artist Pen for my journaling.

Be sure to stop by the blog to join in the fun. 
You have until Wednesday after next to link up your project!

I am linking up at the following challenges:
Crafts and Me - Ribbons and lace (Zipper Trim)
Alphabet Challenge Blog - C is for Covet (my Best Creations paper!)
The ABC Challenge - J - Just as You Like It
Fussy and Fancy Friday Challenge - Flowers


Thanks for stopping by today!
Anita

Dream a Little Dream for me :)

Well blogging buddies,, it is Christmas Eve, the stockings are hung, I am 
just about ready to bake the pie and the cake for tomorrow,
and then it is off to bed for me! We are having just a small 
dinner tomorrow - a few friends coming over and that is it.

I made this layout a couple of weeks ago when I went to retreat.
I just haven't got around to taking a photo of it and getting it posted.
I bought this fabulous paper from Creative Imaginations a few
months ago and I knew exactly what I was going to do with it,
and what photo I was going to use. It just took me
a little while to get around to it :)
My inspiration was the challenge at Quick Quotes which 
was hosted by Barb this month - use Vellum on your 
project. Pretty simple right? So I broke out my butterfly punch
and got to work.
 I have fussy cut and layered the paper several times over. The very top layer was covered in a thin layer of Ranger Crackle medium and sprinkled with a little bit of glitter. 
My butterflies were punched from vellum with my Jenni Bowlin punch, I inked the edges with Powder Puff ink in Pink Cheeks, dipped them in WOW embossing powder and heat set them. I used my Stampers Big Brush Pen from Faber-Castell Design Memory Craft in Warm Grey for the centers of the butterflies. 
Here you can see the crackle a little better, and one of the Prima hearts I scattered all around the page.
This blingy title I got at Michael's in the $$ bin, and the ribbon is Maya Road - I think!
I also used my Art Grip Aquarelle Watercolor Pencil  #126 to highlight my flowers on the layout. I added a little bit of stickles to everything - you can never have too much stickles!

There you have it! And, yes, it took forever to fussy cut that top page. 
But I think it was worth it!

Merry Christmas Everyone!
Anita

Celebrate - Quick Quotes

Whew!! We made it to Friday!!
I am ready for the weekend!!
This week seems like it has been one problem after another.
It has been crazy here. I need the weekend to scrap and get my
mojo back together!!!

Tonight I have a layout I made using the challenge over at Quick Quotes 
which was fussy cutting. 
I have used a variety of Basic Grey for this layout, along with some Bazzill, Prima, K&Co, 
Offray, Martha Stewart punch, Cricut, Helmar 450, Quick Quotes Powder 
Puff inks, EK Success punch, and a few little doo dads from my stash.

I fussy cut the birdcages from the Porcelain paper by BG and layered it onto the Sultry paper.

I used my Twinkling H2O's on the birdcages for a little extra color. The layered 
flowers, ferns, and birds are all from K&Co.

The title was cut on my Cricut and inked with Tahiti powder puff ink, then black 
VersaMark for a weathered look.

I have also used the sketch over at Sketchabilities for this projects
I added an extra picture and move the title around to suit my needs.

Thanks so much for stopping by!
Anita