Showing posts with label Stamper's Big Brush Pens. Show all posts

Tutorial using Chipboard and Layers- Wonder

Hi to all my friends in blogland!

Today I have a new layout to share for 
The Crafty Scrapper's May Blog Challenge

This month the challenge is to
USE LAYERS
You can interpret that anyway you want and remember,
any project is eligible to enter- it doesn't have to be a layout! 

Here is a look at my layout
This is my Sweet Baby Jade at 11 months old! She was so cute back then!
I have used Carta Bella papers and chipboard to build my layers.

Here's how to do it
I mapped out where I wanted my photo to go, then I arranged chipboard pieces around the outer edge until I was happy with the way they looked. 

Once everything was glued down, I put two thin coats of gesso over the whole thing and spread it out around the area onto the page as well. Let dry completely.

Add you color how ever you want- I used some pink Glitter Glam from Heidi Swapp- I just painted a heavy coat over the whole area; let dry completely. 

When everything was dry I splattered some pink paint over the whole layout. I used my Stamper's Big Brush Pen in White to add accents around the outer edge of the chipboards and added some pearls from Queen and Co. 

Here is a closer look. The Chipboard title is from Blue Fern Studios and I heat embossed with Raspberry Tart from Sparkle N Sprinkle.

To add another layer at the bottom, I cut my paper and punched the cut edges, folding them back. I added a doiley that I have had for YEARS underneath, some brads, buttons and flowers. 
Flowers are Prima, buttons are from Imaginisce. 

I wanted to use this cute polka dot paper to match her swimsuit, but I didn't want a huge piece of it. I cut one strip to show the dots and added it across the page from the photo. I added machine stitching along the edges. The punch used here is from Fiskars and I added some faux stitching with my PITT® Artist Pen from Faber-Castell®.  

I used Detail White EP from Sparkle N Sprinkle on this chippie from Creative Embellishments- look how crisp the edge is when using the detail powder!
The hearts on the side were made using a Wendy Vecchi stencil and embossing paste. When it was dry I used two colors of Gelatos® to color them.

Thanks so much for stopping by today!
You have until May 31st to link up your project over on 


Deconstructed Layout #5 - Then and Now

Hi blogging buddies!  Today
and I have another Deconstructed Layout to share with you!

Today we are going to talk about adding background texture to your layouts
using stencils, stamps, paste and colors.

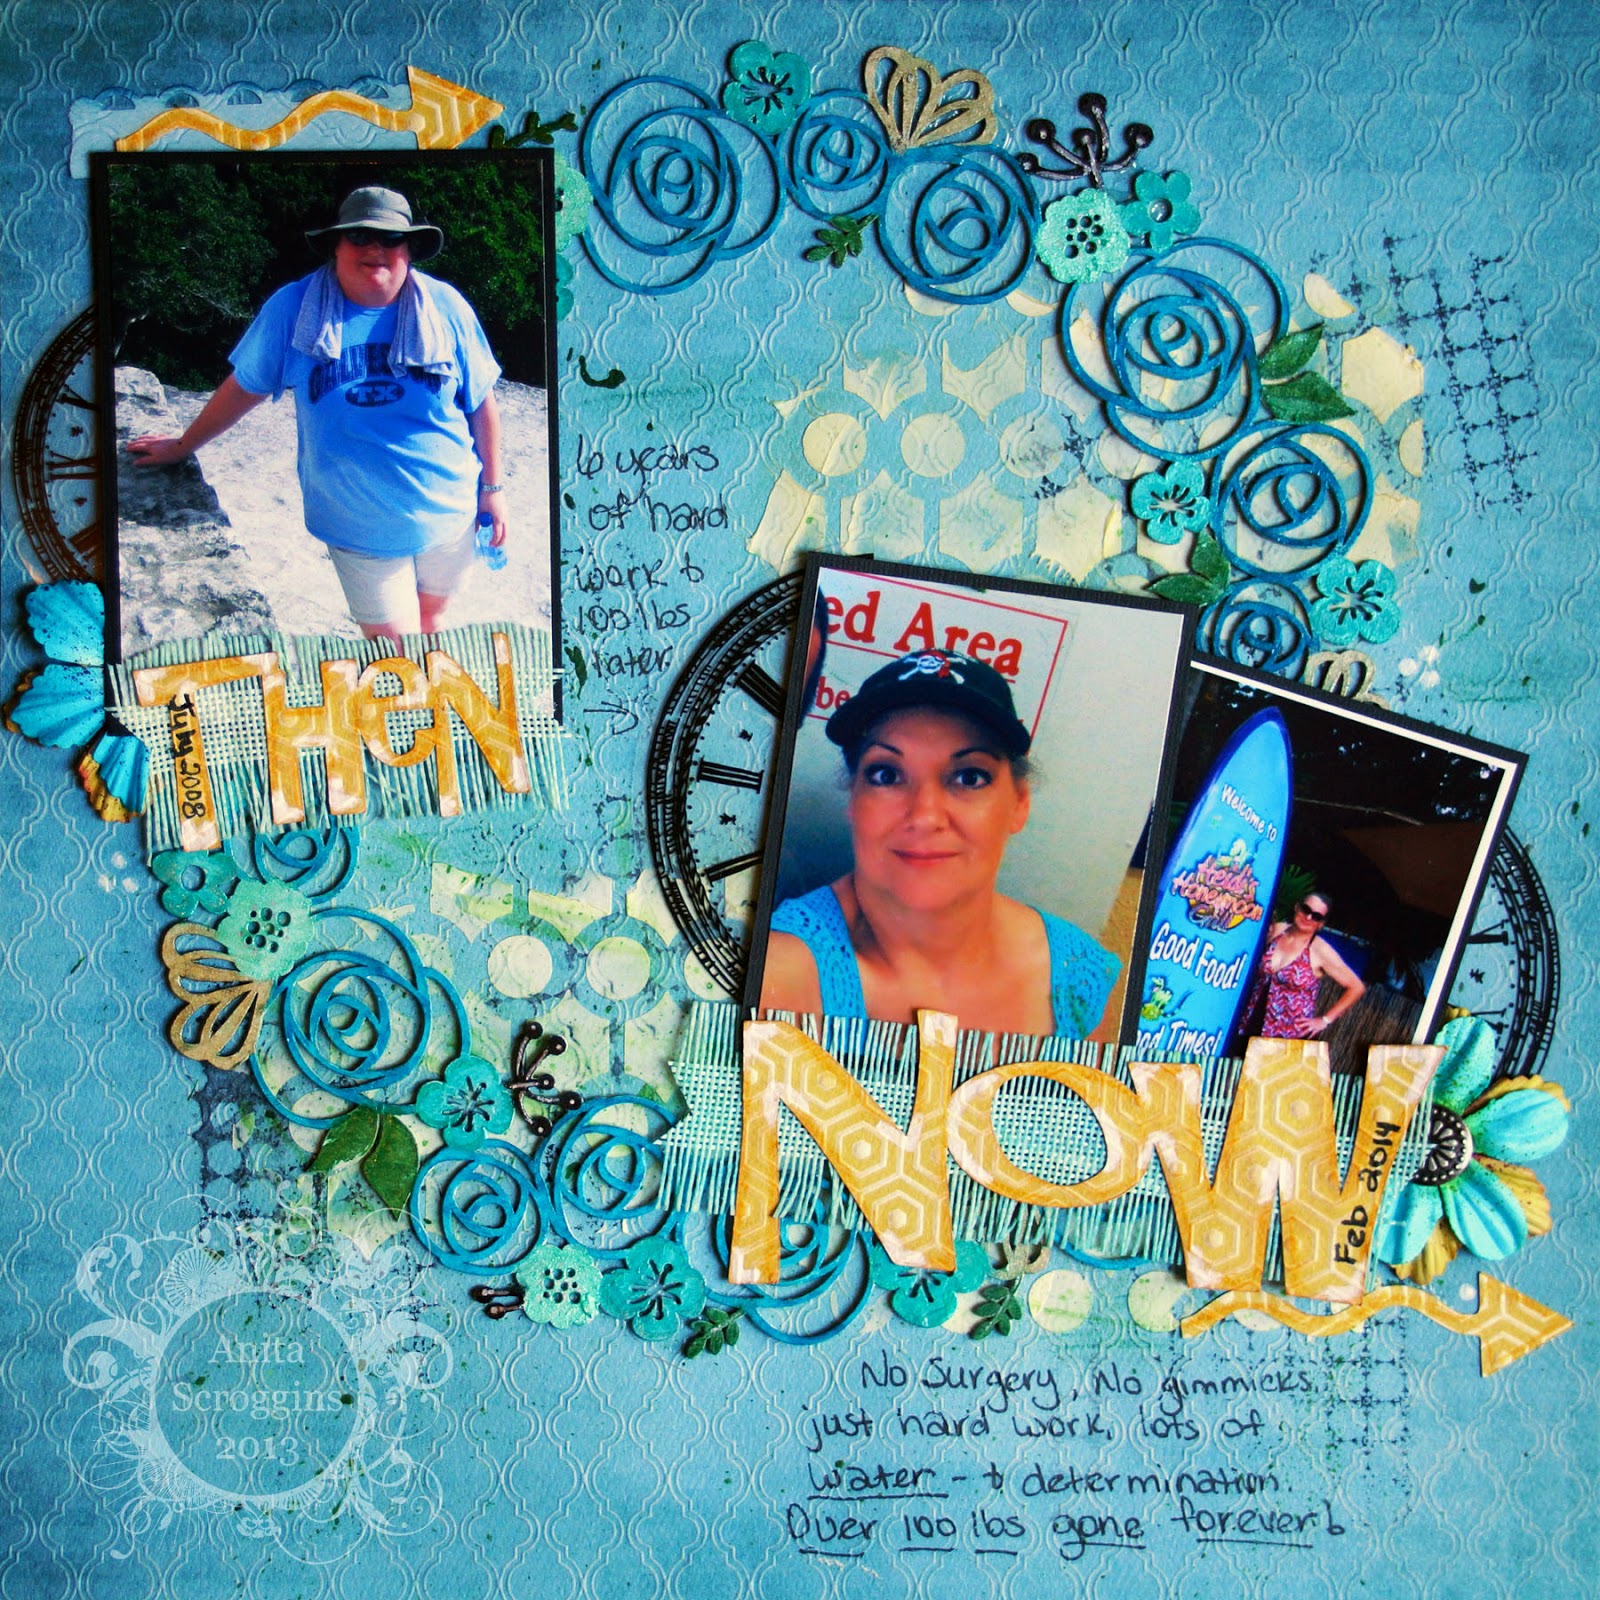
Here is a look at my layout
and, yes, that is me in the layout- both before and after. Quite a change, isn't it!
Now, you know I like to have a lot of  "stuff" on my layouts,  but I 
am really trying to make them more flat so I can get more than 10 in an album!
So I added a lot of texture to this layout without adding a lot of bulk.
I have used My Mind's Eye papers, lots of Faber-Castell® products, 
my Cameo, Wendy Vecchi Stamp, Maya Road Ribbon. 

Start out by stamping randomly on the page, I inked my stamp
with a Stampers Big Brush Pen in black, then misted it with water before stamping.
I only inked a small part of the stamp each time. You can see that the image is dependent on 
how much water you mist onto the stamp, less water equals a cleaner impression, more
water equals a messier impression- totally up to you.

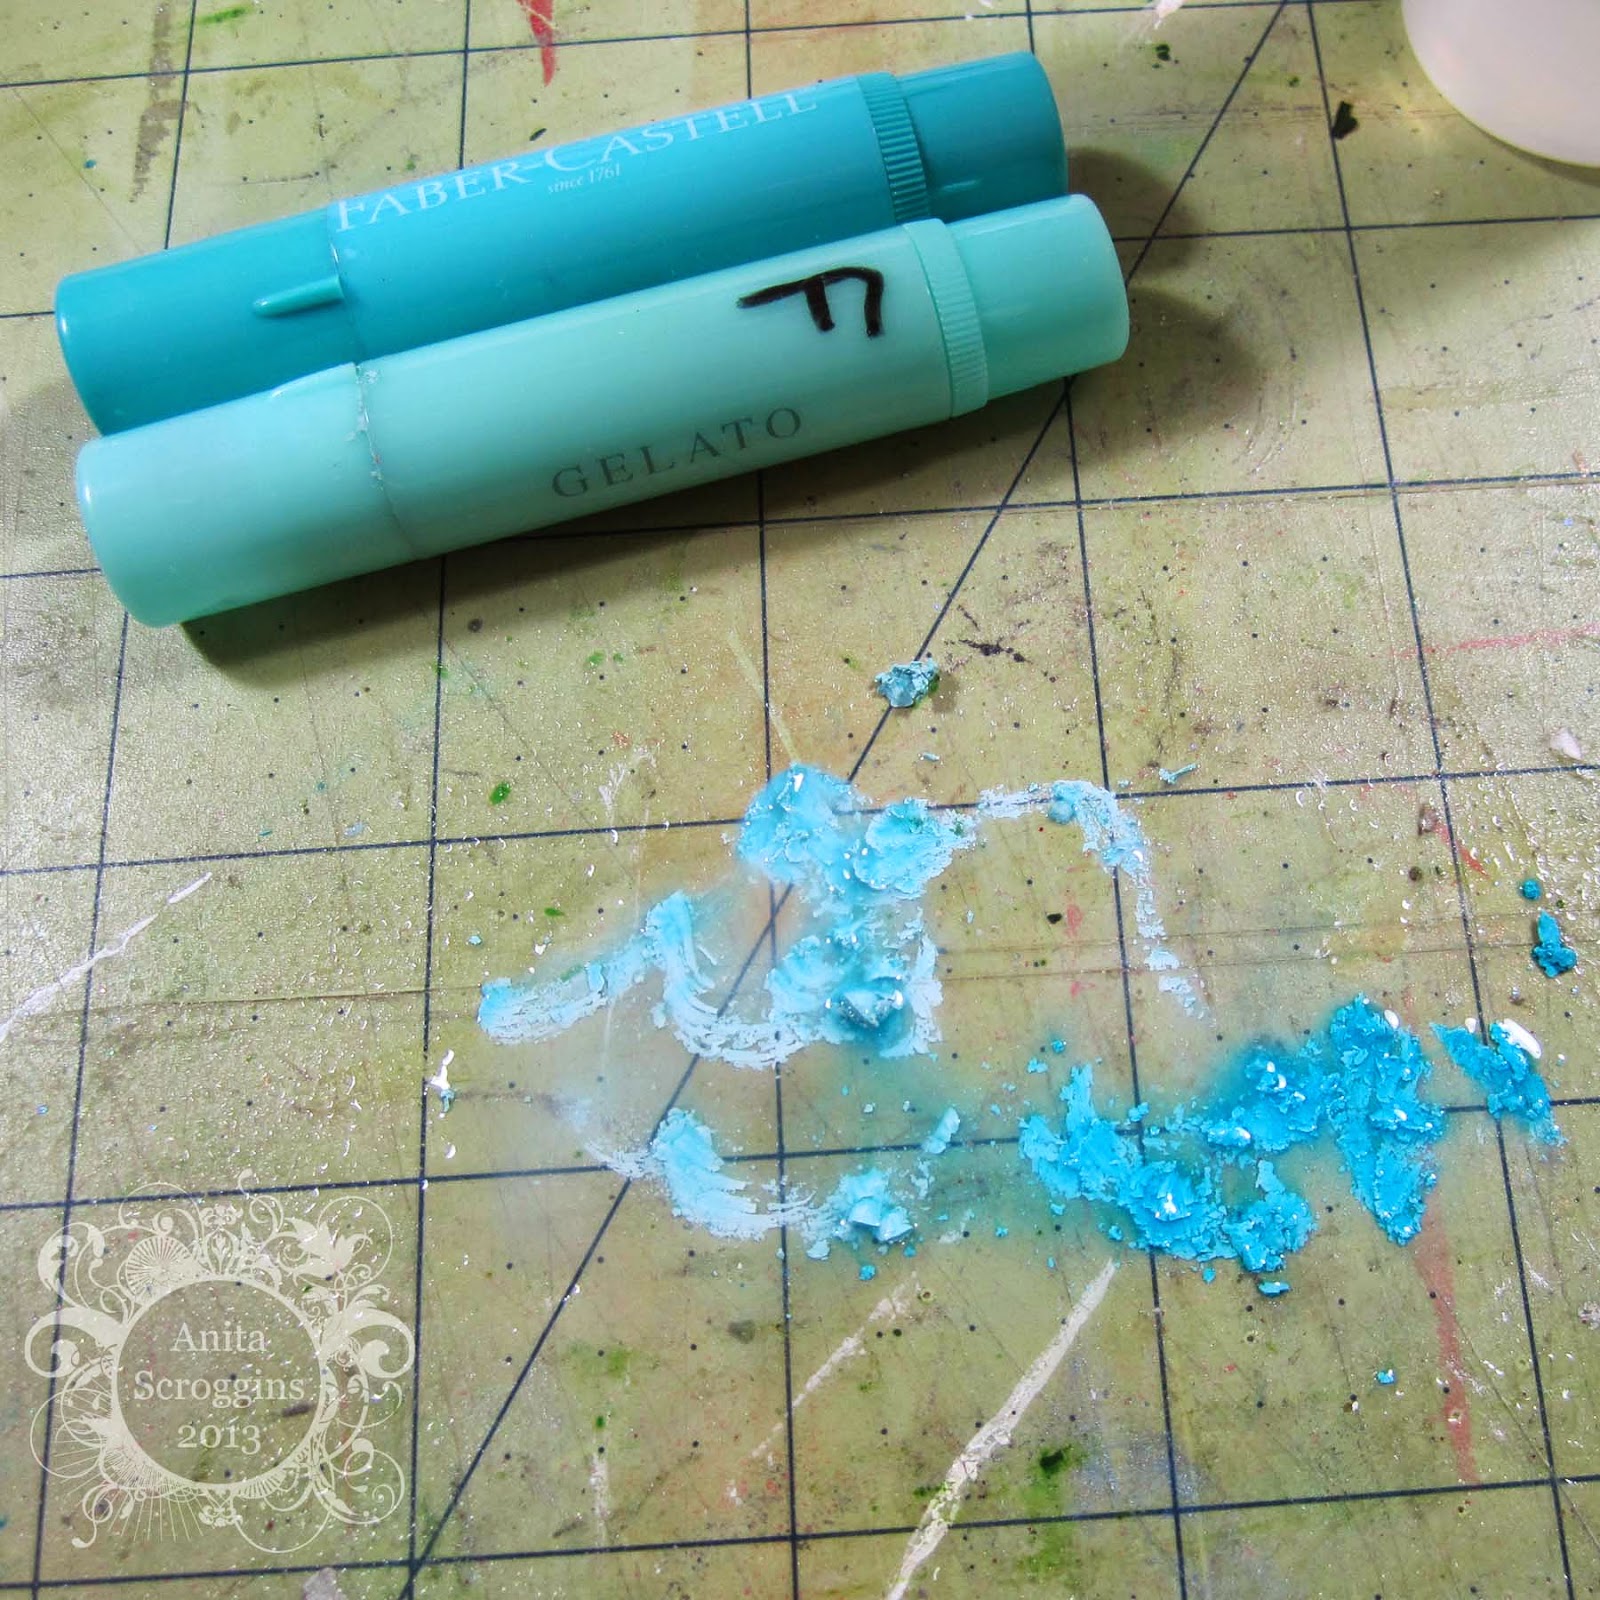
Next up, I cut a small slice off the end of my Gelato® stick and added water
(I normally use a craft mat, but here I was working on a large piece of clear plastic that my 
die cut chipboard came in, you just can't see it in the photo)
Mix the Gelato and water into a thin, runny paste, and flick it onto the layout using
a stiff paint brush.  

Next use a stencil and Modeling paste to add another layer. 
I have no idea why I have no photo of this!

While your paper is drying, grab a large Die Cut Chipboard piece and apply a coat 
of gesso. (I didn't apply the gesso on this cardstock, I just used the cardstock to get a better photo)
This chipboard is Blue Fern Studios. 

When I apply paint, gesso or whatever to a large piece, I always get a bunch on the bottom
of the piece, so I take the chipboard and put it onto a plain piece of cardstock- this will take
the excess gesso/paint off the bottom of the chipboard AND start another background page 
I can use later.

 I colored some of the flowers with my PITT® Pastel Pencil, I put down a HEAVY coat
without smoothing it out in any way. Notice how grainy the texture is here.

I then used a small paint brush and baby oil to smooth the color out.
It seriously looks about 100 times better in person- I could not get my camera to
take a good photo of this. It has a sheen to it, and it is a little darker once you add the oil.

I used a variety of mediums to color my chipboard when it was dry; Stampers Big Brush Pens,
PITT® Pastel pencils, Metallic PITT® Artist Pens, and Gelatos®.
Rub a little bit of your Gelatos directly onto you work surface, mist it with water and combine to 
form a workable paint. Using a paintbrush you can paint the smaller pieces. I used Gold Gelatos to paint the bows on the chipboard in this same manner.
Once I had everything colored the way I wanted it, I added a coat of Faber-Castell® Glaze to
the entire piece. 

Mix more Gelatos® with water- you want this one pretty runny

Use your ribbon to soak up the color- using this technique you can color your 
ribbon any color you need to match your layout.

I used my Cameo to cut my title, then I added white accents. I also
used a Pastel Pencil to add more depth to the edges- a Watercolor Pencil will
work in the same manner for this technique. 

Here are a couple of close ups of my layout
Here you can see the modeling paste I applied- when it was dry I used a sponge to apply
Gelatos® directly to the paste to give it a light color.


I thought it would be cute to add my dates to the titles of each photo-
just another way to show the passing of time. 

I am linking up at the following challenges:
Lasting Memories- Make your own background
Scrap Our Stash- Something old,, something new  (paper is older than 6 months, chippie is new,
title is fussy cut and I used the color blue!)
Stuck! Sketches- sketch challenge
(I rotated the sketch and added another photo instead of journaling)


Thanks so much for making it to the end of the post today!
 To see more details on this layout, check out my blog.


Discover Canvas with Faber-Castell®

Hi everyone, it's Anita today and I want to share with you a canvas
I made using lots of wonderful Faber-Castell® products.

I used a flat canvas for this so I could do some stamping on it. For the image at the top
I used my Stampers Big Brush Pens; Black to stamp the image and it is colored
 with Light Cobalt Turquoise #154.
To create the colored dots that are scattered across the canvas I used my
soldering iron to melt Paper Crafter Crayons in a variety of colors.

I started by painting the background with Gesso mixed with Bubble Gum Gelatos®.
I wanted a streaky effect so I did not mix the Gelatos® all the way in. 
While the Gesso was still wet I pushed small doilies into it for texture.

To color my background I mixed several colors of Gelatos® with water and 
brushed the colors on randomly.  I like to mix my colors right on my craft mat - it is easier 
for me to work with it this way.

I colored wood butterflies with Blue Metal and Metallic Grape Gelatos. I applied the colors
directly to the wood and blended with my fingers.


I added accents with Black and White Stampers Big Brush Pens then sprayed
them with a fixative for some shine.

For my title I colored a chippie with Cherry Red Gelatos® and then added 
a coat of Diamond Glaze. For the background I used more Gelatos® mixed with 
water to stamp the circles.

I used my Black Stampers Big Brush Pen to stamp my images then
added some glitter glue for sparkle.

Here you can see one of the doilys after it has been colored.
I added a sprinkle of tiny chipboard stars to finish it off. 

Thanks for stopping by today and I hope you enjoyed my project. 
Anita

 supplies used:

Stampers Big Brush Pen Black
Gelatos®:
Lemon
Banana
Buttercream
Butterscotch
Teal Metal
Blue Metal
Bubble Gum
Red Cherry
Paper Crafter Crayons:

Other:
Art Canvas
Paper Doilies
ribbon
flowers
Wood Butterflies: Recollections
Stamps: Technique Tuesday
Chipboard word: Want2Scrap
Chipboard stars: Um WOW Studios
Glitter Glue: Stickles
Adhesive: Beacon, other


Watercolor on Vellum - Art GRIP® Aquarelle Watercolor Pencils

Happy Saturday morning everyone!!
It is a beautiful spring day here in Dallas
and I am getting ready to head out to do some
planting in the flower beds. I love flowers :)

Today it is my turn to share a project over on the 
at a larger project I will be teaching next month.

I used my Stamper's Big Brush Pen to ink my clear stamp and stamped on a vellum envelope. 
I used my Art GRIP® Aquarelle Watercolor Pencils and lightly colored in the design.
To see all the details and product specifics, hop over to the blog.
I used the same for my stamped image on my tag, and ran my Stamper's Big Brush Pen
around the edge to give a contrasting color there as well.
Here is a little peak at the finished tag and envelope. As you can see
it is sitting on a canvas, and we will be making this canvas next month at 
The Crafty Scrapper in Waxahachie. We will be covering 9 techniques with
the fabulous products from Faber-Castell® and using almost
every single one of  their products!

 If you are not local. you can get a class kit by
mail by contacting the store directly. The kit includes full color 
instructions and supplies to make the project.

Thanks for stopping by today!
May the Flamingos Be With You!
Anita