Showing posts with label Art Canvas. Show all posts

Patriotic Mini Canvases

Patriotic Blocks mantle decor

It's time to decorate for 4th of July and I always like to display a little something cute on the top of my piano (really it's to keep the cats from laying there). I picked up these 4" pre-printed canvas blocks at Michaels, along with some Joy 3" Varsity Block Letters.

supplies for mantle decor
In addition to the blocks and letters I used a variety of embellishments from my studio. Blue Fern Studios Chipboard, Maya Road bling, DecoArt Antiquing Creme and Metallic Lustre, Art Anthology mini Doilies, and twine. 

mantle decor canvas block patriotic

Using antiquing cream on the surface gave the blocks the aged look I wanted, then I added a the Metallic Lustre using a sponge for highlights.

decorated canvas block

Each block was decorated with a variety of bits and pieces to give them some visual interest. The chipboards were inked with VersaMagic and then I added highlights with a white pen.


Everything, including the letters, was adhered using my SureBonder low-temp glue gun. The little red flower is from Maya Road too.

TIP: Did you know that if you have little "strings" from your hot glue on your project that giving them a little shot with a heat gun melts them away?


Preserving Memories- Dcc Blog Ring

Happy Labor Day everyone!!!

I hope you have had a fabulous weekend with family and friends so far. 

It is the first Monday of the month so it is time for the 
Designer Crafts Connection 

To jump through the web ring, find the image in my sidebar  like the one pictured here and use the arrows to move through the ring.

Blog Ring and this month's theme is "How I preserve my memories".

Of course you know I scrapbook, but I also have a variety of other items around the house that are wrapped up in memory keeping; shadow boxes, canvases, photos, and one very awesome flamingo mosaic made out of pink glass. One of my very favorite is this frame from my daughters Debutante Year
 This was DD2s formal portrait for her Debutante Ball and it was on display during the ball Of course, I had to do something special to show off my baby! This frame is 40 x 30 and the very definition of Southern Gold Gilt!
The theme that year was 
"Diamonds, Pearls, and My Little Girl"
so I pulled lots of her "little girl" photos and used those to cover the mat space in the frame.

I added lots of flowers, ribbons, pearls, bling, and sewing to the photos and mat to add to the frame. 

Sorry about the glare- after a couple of years, I realized I would have to put all this behind glass. It is almost impossible to photograph- even though I used Museum Glass.  And yes, sadly those  are scratches on the photo in the corner, the frame shop dropped the entire piece and broke the glass after installing the first time. Luckily, it only dented the surface of the photo, and didn't take scratch the color off.

Thanks so much for stopping by today! 
Be sure to check out the rest of the web ring- there are so many talented artists in the group!

Anita

Multi Canvas Mixed Media Project - Frosted Designs

Hi everyone in blogdom :)
I am just back in town and getting caught up,
I promise I will hop around to all of your blogs
in the next day or so! Thank you for all your lovely comments!!

Today I have a project to share using the fabulous
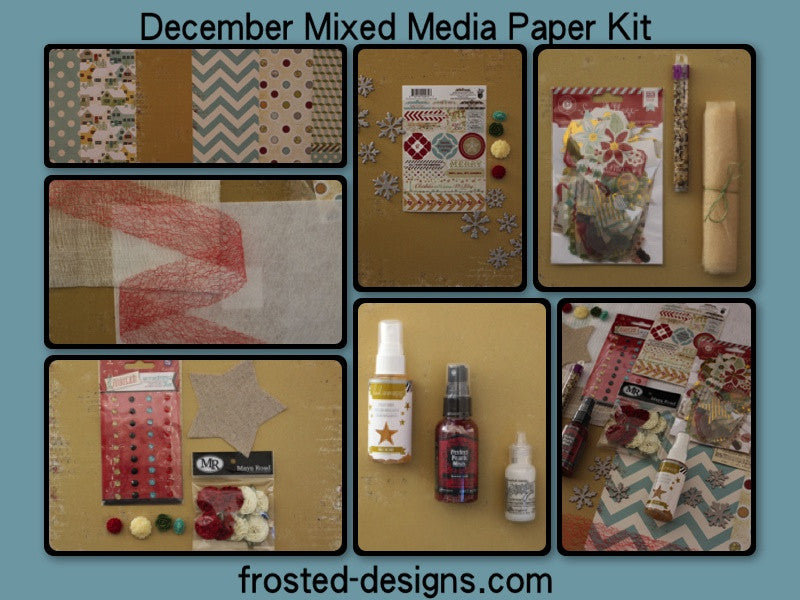
 November Mixed Media Kit from Frosted Designs. 


This kit is fabulous!! 


I am so in love with this layout! The papers and embellishments
from the kit are just amazing. I don't use a black background
very often, but I thought it would really set these colors off!
To create my backgound I cut the papers from the Nov Kit into random strips, inked
them and layered them under the large center mat. 

For my photos I used three mini canvases and inked them with
the Mixed Media inks from the kit. For this larger canvas I
added the lace and small flowers from the kit to embellish it.

The two smaller canvases have just enough room for the photos!
The tags are embellished using the stencil and ink from the kit.
(See below)

Are these chippie hearts amazing or what? I added paper flowers
and the rhinestones from the kit to my cluster as well.

To color my tags, I applied the ink directly from the ink pad
through the stencil on the NON SLICK side.

Thanks so much for stopping by today!
I have more projects going up this week so be sure to stop back in!

Anita


Discover Canvas with Faber-Castell®

Hi everyone, it's Anita today and I want to share with you a canvas
I made using lots of wonderful Faber-Castell® products.

I used a flat canvas for this so I could do some stamping on it. For the image at the top
I used my Stampers Big Brush Pens; Black to stamp the image and it is colored
 with Light Cobalt Turquoise #154.
To create the colored dots that are scattered across the canvas I used my
soldering iron to melt Paper Crafter Crayons in a variety of colors.

I started by painting the background with Gesso mixed with Bubble Gum Gelatos®.
I wanted a streaky effect so I did not mix the Gelatos® all the way in. 
While the Gesso was still wet I pushed small doilies into it for texture.

To color my background I mixed several colors of Gelatos® with water and 
brushed the colors on randomly.  I like to mix my colors right on my craft mat - it is easier 
for me to work with it this way.

I colored wood butterflies with Blue Metal and Metallic Grape Gelatos. I applied the colors
directly to the wood and blended with my fingers.


I added accents with Black and White Stampers Big Brush Pens then sprayed
them with a fixative for some shine.

For my title I colored a chippie with Cherry Red Gelatos® and then added 
a coat of Diamond Glaze. For the background I used more Gelatos® mixed with 
water to stamp the circles.

I used my Black Stampers Big Brush Pen to stamp my images then
added some glitter glue for sparkle.

Here you can see one of the doilys after it has been colored.
I added a sprinkle of tiny chipboard stars to finish it off. 

Thanks for stopping by today and I hope you enjoyed my project. 
Anita

 supplies used:

Stampers Big Brush Pen Black
Gelatos®:
Lemon
Banana
Buttercream
Butterscotch
Teal Metal
Blue Metal
Bubble Gum
Red Cherry
Paper Crafter Crayons:

Other:
Art Canvas
Paper Doilies
ribbon
flowers
Wood Butterflies: Recollections
Stamps: Technique Tuesday
Chipboard word: Want2Scrap
Chipboard stars: Um WOW Studios
Glitter Glue: Stickles
Adhesive: Beacon, other