Showing posts with label Basic Grey. Show all posts

Creating With Joy Letters

 I am so happy to say that I am Creating with


Joy S.A. Embroidered Letters & Appliques for Wearables & Home Decor that is!

Joy S.A. is sponsoring a blog hop with Designer Crafts Connections so be sure to check out all the amazing projects from the other designers. Use the arrows beneath the logo in my sidebar to the right to navigate the web ring.  

I was so happy to be given this opportunity and equally happy to be working with such a wonderfully talented group of ladies. Here is my first project.

Back at CHA (Craft Hobby Association) Super Show in January I was so lucky to get in on a wonderful traveling Make N Take on opening day sponsored by American Crafts, Heidi Swapp, Bazzill Basics Paper, and a few other marvelous companies. I was given this canvas album, complete with page inserts, and lots of embellies to decorate it. It has been sitting on my shelf mocking me since then because I have not been able to decide what to do with it.

As soon as I received my letters from Joy this album came to mind. Perfect for the Princess, yes? The album came with the silver star on the front. Who doesn't need more silver sequins in their lives? It is a little hard to see but I gave the background on the left side a spray of Heidi Swapp Color Shine in Gold for a little contrast on the canvas.


To dye my letters, which came a bright white, I used ColorBox Spritzers Ink diluted with a little water. I mixed the ink/water on my craft mat and pushed the letters around in the solution for a bit, then dried with my heat gun. 
The super cute little stars are also from Joy and dyed using the same technique. I added ribbon from Decorative Trimmings and Maya Road, a few flowers, and buttons from Buttons Galore and More.

Don't forget to hop through the Designer Crafts Connections Web Ring and be sure to check out the Joy S.A. web page here to see all of their amazing products.


Happy Campers with Sparkle N Sprinkle

Howdy Blogging Buddies!
Is it almost spring?? Are we all ready for spring??
I am!! What about you??

Today I have a new DT Project for Sparkle N Sprinkle to share
This is my 3rd Girl Scout Troop at our Annual Spring Camp. 
I miss these days- and these girls!
The big kid there in the middle is DD2, the two little ones on either side of her are my
BFFs daughters. I can't get over how little they were! 
They are both Sophomores in high school this year!
My papers and die cut stickers are Basic Grey- old and new. 
Alpha stickers are Simple Stories. 
I created the stamped background by stamping the brocade pattern from 
#398Brocade Backgrounds with VersaMark, then brushing Pearl chalk
over it. The chipboard piece here is Blue Fern Studios and I used
EP440 Mojito,   and EP137 Shimmer on it.    

  I am so lovin' these 3D Foam Stars from Scrapbook Adhesives- they are awesome!
I burnished them with GM2007 Reflections

I inked this chipboard word and while wet I covered in EP137 Shimmer. 
Sorry about the lighting on this- With the shimmery background 
AND the glitter on the word my camera just did not want to focus
and I had to go straight up manual!

For more detailed instructions on this layout please 

Thanks so much for stopping by today!
Have a wonderful week!


Our Crew +1 & ColourQ #223 Reveal

Hi everyone, are you freezing where you are?????
It is so cold here in Dallas,,,, I would throw our my usual
saying here, but it really is not meant for broadcasting. 
But just know that it is COLD here. 
My toes have not been warm in DAYS.

Today I have a new project to share with you
using the newest palette from ColourQ!
 These colors were a bit of stretch for me,
but I like how my project turned out.

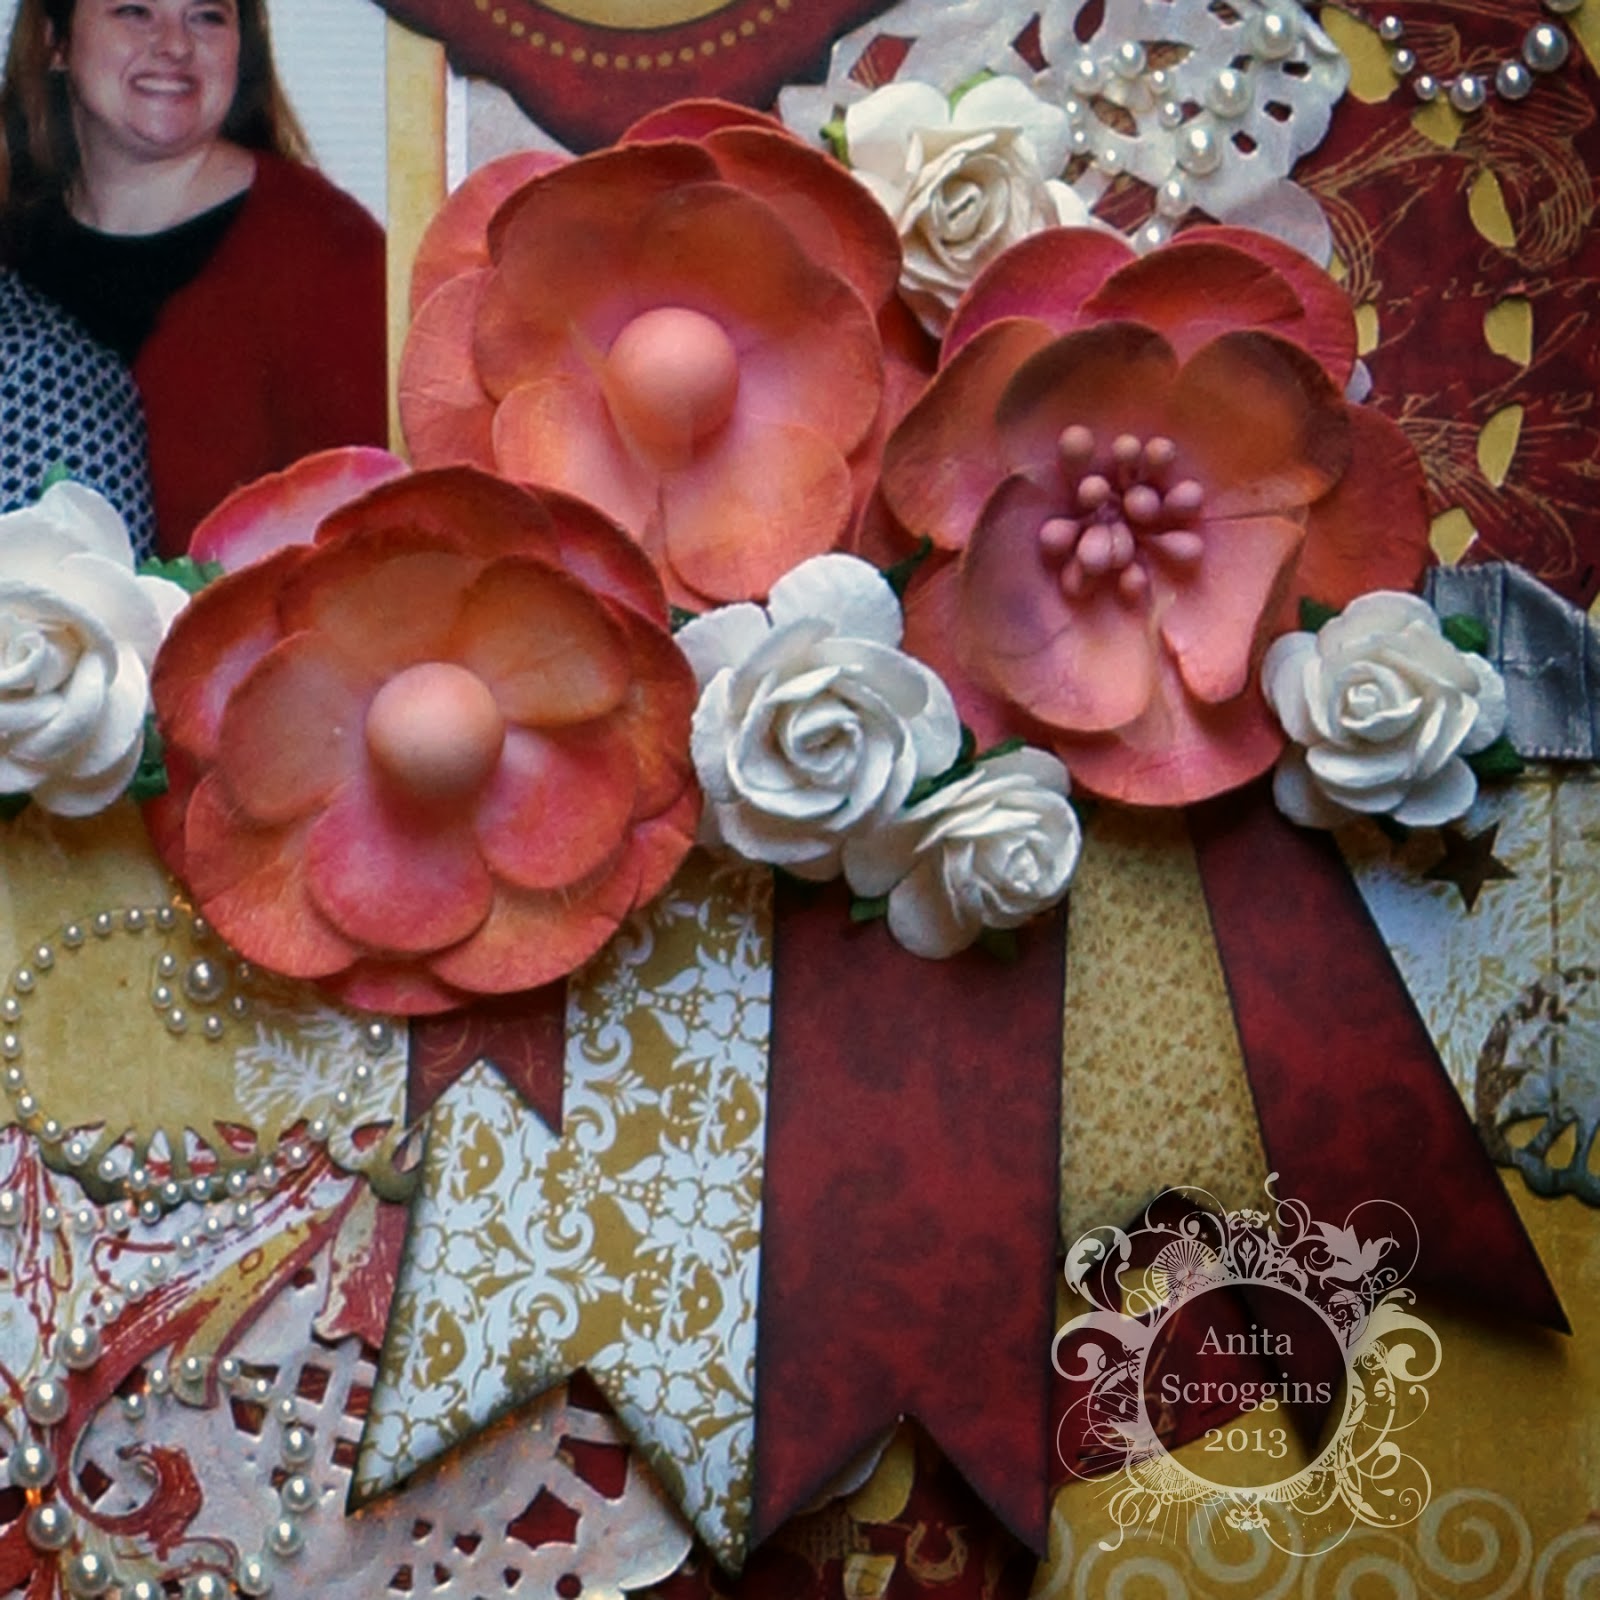
I have used the Bo Bunny Silver & Gold collection along with some Bo Bunny flowers,
Basic Grey ribbon, and some other stuff I pulled from around the room.
I cut the die cut paper using a We R Crazy 8 punch- my friend may never get 
those back, just sayin'. The hanging sign and the mat behind it in the upper right corner, were both
fussy cut from the sheet of journal cards.

 I did a little fussy cutting from the journal card sheet to get these tags,
I used pop dots under the ends to get a little dimension. The Flowers are Bo Bunny too,
but they started out pink, I used several inks on them to change the colors
to suit my needs.

My chippies are from Blue Fern Studios and I used Sparkle N Sprinkle Silver 
Lightning EP on them. 

The pearls are Bo Bunny - who doesn't like a little extra bling? 

It is hard to see in the photo, but I sprayed the white doily with Heidi Swapp Color Shine
in Gold- my new fave product. I have been through two bottles of it in two weeks.
You can see another piece that I fussy cut from one of the PPs on the right of this photo. 

Here is a look at this week's palette
You have until next Monday to link up your project over on the blog.
Be sure to join in the fun!

Thanks for stopping by today!
Anita

The Flock Takes Flights - Sparkle N Sprinkle

Hi Everyone,, We are almost to Christmas!! 
Our family is having our Christmas today, because my 
DD2 is moving to Alaska and she leaves on Christmas Day!

My layout today is using Sparkle N Sprinkle products- have you tried 
their Microfine Glitter and Embossing Powders yet???
They are AWESOME!!
I have used Basic Grey papers- they are an assortment of lines here,
some I have had forever! 
For the flowers I used Brushable Glue and covered with Starfire Glitter. I used Flourishes 1 to create 
my pattern on the pink paper here. 

I used Tear-iffic-Tape on several layers of the papers to add 
glittered stripes. Seriously- this tape is one of the best things ever! Simply apply the tape where
you want some sparkle, peel of the protective backing and burnish with glitter. Easy peasy!


Here I used two different widths of Tear-iffic-Tape to create two glittered stripes.
For the ribbon, I started with a plain fabric ribbon and stamped my sentiment
directly onto it. This is a super easy way to get custom ribbons.

Here is a closer look at my heat embossed background. I used Princess Rose EP and
VersaMark ink for this. 

Here is another great way to use Tear-ific-Tape- I applied it to the edge of
my paper strip, used a border punch on it, peeled of the protective backing
and then burnished with glitter. To finish up my layout, I used my machine
to sew around the outside edge, then doodled with a white pen. This layout has a lot of layers
on it, but I can still fit it in a page protector because it is not too bulky.
Bulky has been a problem for me of late ;o)

Here are a couple of quick projects I made this month
My annual Brunch invitations - I wanted to jazz them up a little bit, so I
added a bit of sparkle using Tear-iffic-Tape and Glitter, so easy!

I wanted to dress up a plain Jane candle, so I started by stamping some simple background images
using StazOn inks. I applied 2 1/2" Tear-iffic-Tape to a piece of cardstock, and
border punched both edges. I removed the paper backing, added a piece of
patterned paper down the center (this was tricky, I admit) and then burnished the bare edges
with my glitter.
I used Tear-iffic-Tape and scrap pieces of cardstock, punched my stars,
removed the paper backing and added glitter.


Have you joined in the fun at the Sparkle N Sprinkle Challenge yet?
The deadline is the 25th and, as always, the theme is Anything Goes
use glitter, embossing powder, and/or flocking.
There are some great prizes to be had, so be sure to check it out!!


Here is a list of SNS Supplies I used:

Thanks for stopping by today - have a wonderful week and enjoy your 
time with family and friends! 

Anita

Girl Scout Sunday

Hello, hello blogging buddies!!
I hope you have had a wonderful weekend so far!
Mine had been pretty fast, I am trying to get 
a lot of things done before I go in for surgery this Friday!!!
I am hoping that my household stays intact with the hubs in charge.

Today I have another layout from my Girl Scout Album
to share. This field trip was pretty much an annual event for us.
Scout Sunday is hosted by all the churches here in out town
and they recognize all the Girl Scout and Boy Scout troops. 

I have used Echo Park papers for this along with some Bazzill Raven cardstock.

The flower is Bo Bunny and the acetate petals in the back are from an 
old, OLD, OLD Heidi Grace sheet. I am determined to use up all the stuff I bought!
I used Art Glue and silver glitter to edge the flower. 
I borrowed my buddies GINORMOUS punch for this pennant!
My stamps are from Basic Grey, the chipboard is Um WOW Studios and
I have heat embossed all the pieces. 
This stamp is Maya Road, the bird rub on is Creative Imaginations. 

I am linking up at the following challenges:
Stuck Sketches - I rotated the sketch and used only one photo
Paper Lovers Studio - Recipe: 3 pattern papers, background stamping, 
punched shape, handwriting (it is hard to see, but the pink paper does 
have a pattern on it, look below the photo)

Thank so much for stopping by today!
Have a wonderful week!!!
Anita

Exploring with Girl Scouts - Frosted Designs

Hi Everyone! Yippeee - it's Friday again!!

Today there is a new Frosted Designs Challenge and
we are all about EMBOSSING this time around!
 
Now, how your choose to emboss is up to you,
just use some form of embossing on your scrapbook page, card or
of the page project and link it up on the Frosted Designs blog.


I decided to go with embossing chipboard in my Cuttlebug.
Here is a look at my project.
I did a double page layout for this project, again from my Girl Scout album.


Here is a run down on supplies:
Papers: Basic Grey and others/ Stamps: Basic Grey, Wendy Vecchi, Jenni Bowlin, 7 Gypsies /
Punch: Fiskars / Ribbon: Stampin' Up / Alphas: Basic Grey / Word Stickers: Authentique /
Chippies: Leaky Shed Studios, Fab Scraps. Want2Scrap/ Ink: VersaMagic, StazOn
Flowers: Prima, Craft supply / Embossing Folder: Provo Craft

I ran my chipboard through my Cuttlebug using an embossing folder, then inked it
lightly to bring out the texture.
I used a different folder for the title - love those dots!
This chippie was inked, then highlighted with a white pen.

These awesome pennant stamps are from Jenni Bowlin Studios

Of all my photos of the girls, this is my favorite. This photo really shows their personalities!
 We are getting ready to go hike 5 miles.

 
Now our sponsor for this challenge
  Molossi  
If you haven't been over there please take a look at their beautiful range. You can see what they have in store here
They will be offering a 30.00 chipboard and bling pack to one lucky winner, yes you heard right, 30.00 of bling and chipboard. Now a little about them. 
Molossi  is 100% Australian owned and operated, with over eight years industry experience and access to the much loved paper craft brands and experts.

Molossi is situated in the Hawkesbury region of New South Wales, and our warehouse is located in Wilberforce and open by appointment only.

With the vision, Molossi is committed to sourcing and supplying all your papercraft needs, whilst delivering our own unique products. Our priority is to deliver a prompt and efficient service to our cliental base, to maintain this promise we are listening to what you as the retailers are asking and we are always open to suggestion and comments to ensure we uphold this value. 

I am also linking up at the following challenges:
Paper Lovers Studios - Recipe Challenge
Sketch -N- Scrap - Sketch, 1st page
Paper Secrets - Sketch w/ Twist 2nd page
City Crafter Challenge Blog - Summer Time

Sketch -N- Scrap for 1st page, I rotated the sketch, and
 used one  larger photo instead of two. The new stamps I
bought from Basic Grey are so awesome- love all the little
arrows in the set!!!

Paper Secrets sketch for 2nd page. TWIST: Word Embellies
I used a chippie word from Fab Scraps that I embossed
I rotated this sketch to fit my photos and added a large journal
block.

Thanks for stopping by today!
I will be back later with the winner of my blog candy.

Have a wonderful weekend!
Anita


Girl Scout Days

Howdy blogging friends!!
How is everyone doing???
I can't believe it is almost the end of July - where has the 
summer gone?????

I have blog candy up for grabs!
Be sure to check it out and enter-
get all the details HERE

Today I want to share a few layouts I made a 
retreat a couple of weeks ago. I am redoing my Girl Scout album.
It was the first album I made and it is pretty awful - really. 

Here are some of the new pages - I am trying to keep them FLAT!
Basic Grey papers, stamps, and alphas.

I used MME papers and embellishments. 

This is LYB papers, Technique Tuesday & Maya Road chipboards. For this page
I made a 12x12 and an 8x12 page, I will attach the 8x12 page with a CTMH flap.
Here is the back side of the 8x12 page.

MME papers and embellies, washi tape, and die-cut letters. 

LYB papers, Technique Tuesday chippie stamped with Wendy Vecchi stamp. 

Basic Grey and Adorn It papers, Basic Grey buttons and alphas. 

So there you have it. There are a little more plain than I normally make,
but I have a LOT of layouts to get into the book, so I am trying REALLY hard to 
make them flat without so many bumps and lumps on them!!

I am entering in the following challenges:
Southern Girls : Animals (2nd layout)
4 Crafty Chicks - Pennants (5th layout)
Divas By Design - Anything Goes
City Crafters - On The Road (6th layout)


Thanks for stopping by today and don't forget to
check out my blog candy!

Anita

Girl Scout Camping - Frosted Designs

Howdy blogging friends!!
Who is going to CHA next week? I will be there, so look for me!
I am super ready to go and see all the new stuff :o)

Today over at Frosted Designs we have a new challenge up
The Great Outdoors- which is perfect for all the Girl Scout photos I have
been scrapping lately!! Even if the Huffington Post says that 

I used Echo Park papers along with Glitz Designs, MME, Basic Grey, and Bazzill Cardstock.

I added faux stitching to my pennants with my PITT® Artist Pen in Black. 

I used a MS punch and my title is made using Basic Grey alphas. I used these 
same alphas throughout the album, I loved how small they were. I could put a title
on the page without it being overwhelming.

The journal card is from a Recollections pack. I used Tsukineko inks throughout. 

Be sure to stop by the blog and see some fabulous inspiration from the 
Design Team. We have some fabulous and talented ladies on the team!

I am also linking up at the following challenges:
Lasting Memories: Country Colors
Challenge Me Happy: Anything Goes
Southenr Girls Challenge: No Ribbon/Twine/or Cotton


Thanks for stopping by today!
Have a great weekend :)
Anita