Showing posts with label Embossing Paste. Show all posts

The 12 Tags of Christmas Day #3

Good morning everyone! Today is day #3 over at The Crafty Scrapper for our 12 Tags of Christmas and I have another tag to share with you.


  I am not normally a tag maker, I am more of a 12x12 pg kinda girl - there is way more room to work with on 12x12 after all! But I am pretty happy with how my tags came out.


This tag came together very quickly! Other than the drying time for the embossing paste, it took me less than 5 minutes to pull this tag together. So even if you are in a hurry, you can create a fabulous tag for a gift!


I started by applying some texture to the top and sides using a stencil and Wendy Vecchi Embossing Paste, then inked around the sides and added a few accents with my White Signo Pen.


I stamped my background image using VersaMark, then applied chalk in multiple colors for a subdued effect.  I added my sentiment using Black StazOn ink, and lots of ribbons and a button at the top to finish it off.


Be sure to check The Crafty Scrapper Blog everyday as we will have a new tag to share with you.


Thanks so much for stopping by today- have a wonderful week!


Deconstructed Layout #14 A Perfect Moment

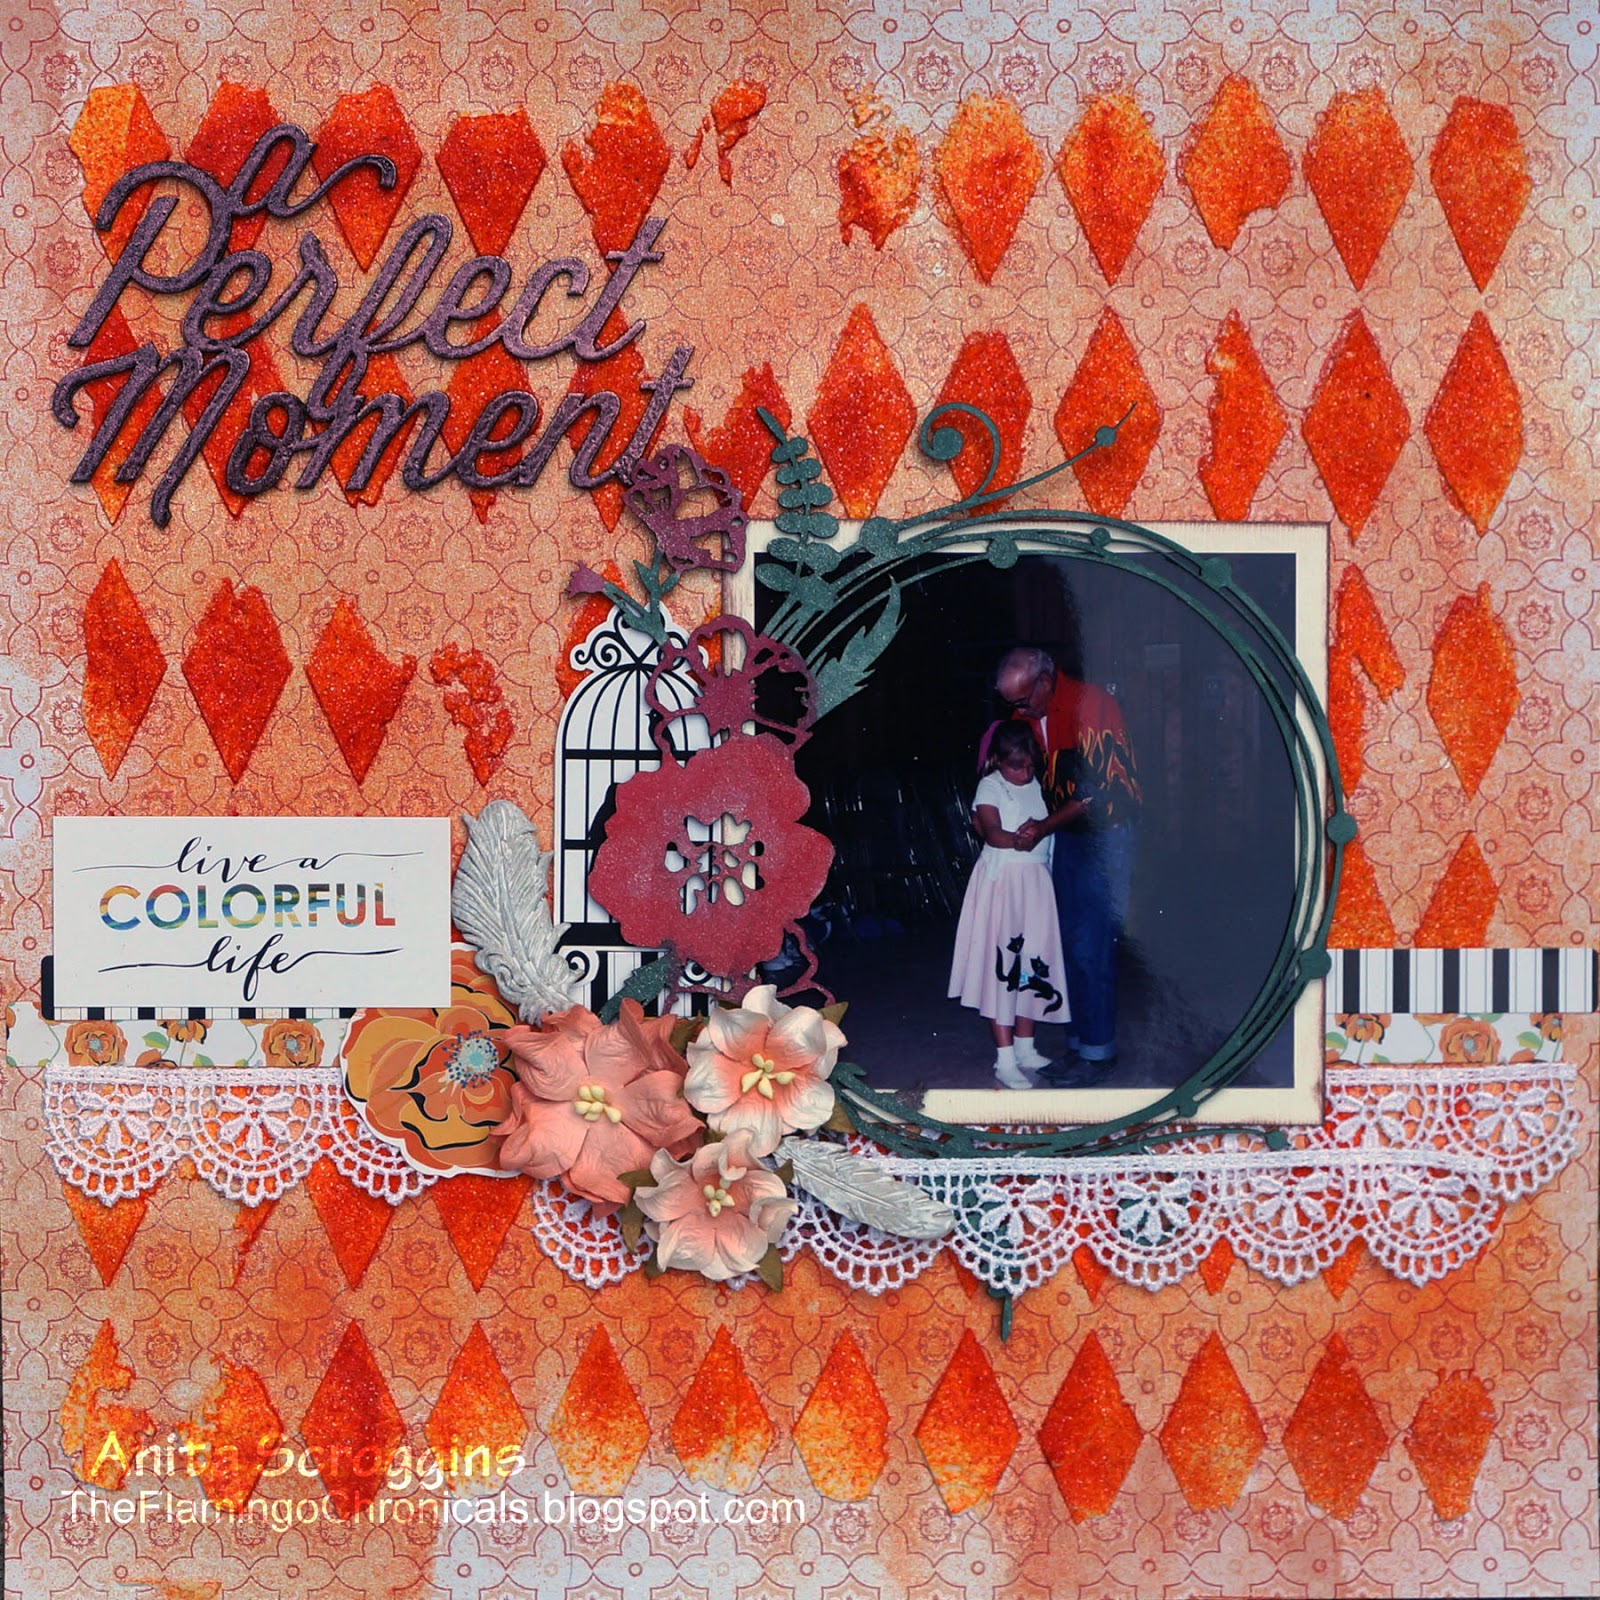
Perfect Moment Layout
 For today's Deconstructed Layout - A Perfect Moment-  we are going to talk about background texture. I love working with stencils and molding paste, but there are times when I want to add a little something more to it.
 I hope you are enjoying these tutorials as much as I am!


For this layout, I wanted to really play up the color of the We R Memory Keepers paper, which was a beautiful  orange. So I grabbed a stencil, my Molding Paste and knife, some DISTRESS GLITTER and a jar of LINDY'S STAMP GANG FLAT SHOT  in Mango Mania.

Distress glitter
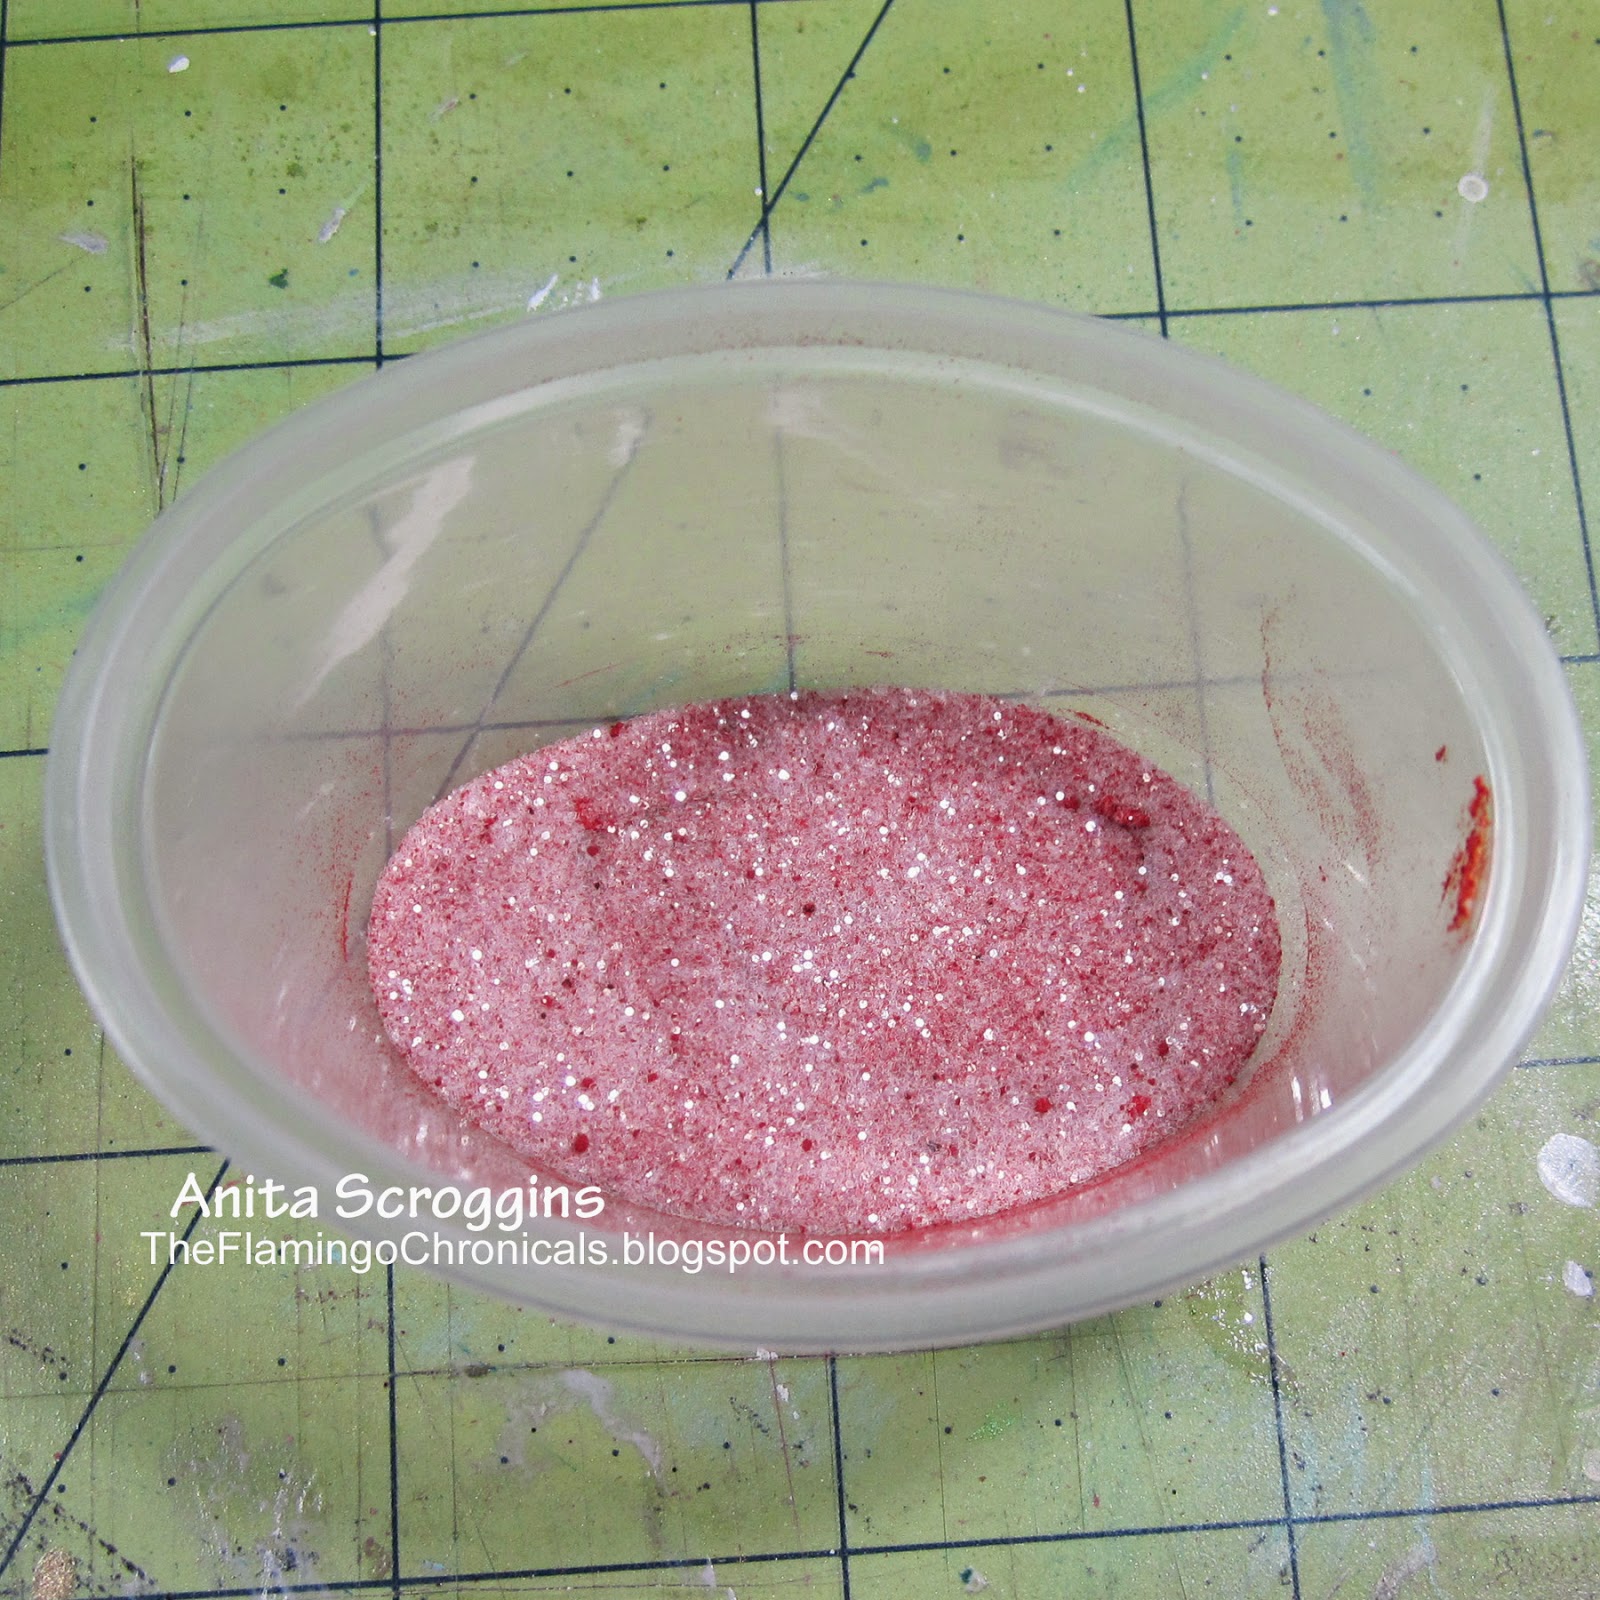
I mixed some Distress Glitter (Clear Rock Candy) and My Mango Mania Flat Shot together in a small cup and set it aside. Once I had spread a THICK coat of molding paste and removed the stencil, I poured the mixture over the paste, letting the excess run off onto a scrap of paper. 

background texture
This is what you end up with. Now, the background will be PLAIN. The reason mine is orange, is because I sprayed it with Dylusions White Linen- the residual Flat Shot that was on the paper will turn colors when the spray hits it. If you don't want the paper to be colored, just don't spray it!

Set this aside to dry, like over night. Seriously. Then you will need to seal it. REALLY. 
You will need to seal it, or it will get all over your hands every time you touch it. 
Trust me on this. 
I use Helmar's Crystal Coat Matte Varnish, but any spray sealer will work.

matching embellishments
I added Glitz 77 stickers, flowers, and resin accents from the Summer's End Kit, some lace and a chipboard from Blue Fern Studios. To color the chippie, I used plain old pan watercolors then misted with iridescent ink. 

embossed chipboard
I used Midnight Copper Embossing Powder from Lindy's Stamp Gang for my title.

Thank so much for stopping by today!


Beautiful Baby with Sparkle N Sprinkle

Happy Sunday everyone!
Another new week is here and it is my turn to share a project using the 
amazing products from Sparkle N Sprinkle. 

I started with a piece of Bazzill Vanilla CS- which is my newest favorite color- and added some texture with  stencil and molding paste. While the paste was still wet I sprinkled it with Bubblegum GL. I sprayed my doily with Dylusions and set that aside to dry.

I added some accents around the page using the Flourishes 2 stamp set and Buttercup Petal EP.  On the white rose I added glue to the edges of the petals, and dipped them in Peruvian Lily GL.
The beautiful die cut accents are from Kaisercraft. 

Once the doily was dry, I stamped randomly on it using the Crystal Medallion stamp and adhered to the layout using Tear-ific Tape.

Love, love, love how much sparkle the glitter adds to the molding paste!! 

These beautiful Crystal Accents are from Mon Ami Gabby. They are so easy to add to your projects and look so pretty. Love them!!

Thanks so much for stopping by today!
Have an amazing week!

Anita

Supplies:


Oceans of Fun- New Echo Park Papers

Howdy blogging friends!
How is the weather where you are?? Isn't it super freaky this year?
I have a friend in Colorado that got snow yesterday! It has been raining
 here for days and the temp is down to the low 60s today. Not that I am complaining!

Today I have a new layout for The Crafty Scrapper to share
using some really cute new Echo Park Papers!!

 How cute is this new paper!!! It is Summer Adventures from Echo 
Park- be sure to get yours before it is all gone! If you are not near the store, remember- they ship!

I used a stencil and Molding Past to add some texture to my background. The flowers are Vintage Prima
and the chipboards are BLue Fern Studios, and they have been embossed using Sparkle N Sprinkle EPs.

  I used my Cameo to make my layered title using Bazzill cardstocks. 
So you have a Cameo and want to learn more ways to use it? I will be teaching a series of classes
on how to use your Cameo starting in June/July.

The journal card is also from the same paper line, and I used torn 
strips from the line to make a layered mat for my photo and 
inked them with Powder Puff ink from Quick Quotes.

The word art here is trimmed from one of the Journal Cards, and I added a little bit of bling down each edge to make it pop. In the upper corner I used a square chippie from MME to accent- I cut it in half so it would fit where I wanted it. These are also available at the store. 

I am linking up at the following challenges:
Quick Quotes- use torn paper
Use Your Stuff - use ribbon/fibers


thanks so much for stopping by today!
Have a wonderful week and may the Flamingos be with you!

Anita